JavaInstall
Installation Guide for Windows
This guide is only for Windows. You can choose macOS or Linux guide here.
Follow the instructions even if you already have some of the software installed
(including C:\Java-Training). Existing software will just be updated
and any of your previous projects will not be lost.
The C:\Java-Training\Projects folder is not erased.
All other files and subfolders of C:\Java-Training will either stay intact
or will be overwritten by a newer version of the software.
Installation
-
Install 7-Zip: https://www.7-zip.org/
Watch out! 7-Zip is much better than WinRAR or WinZip. Install it even if you already have them. Especially we noticed WinRAR being unable to extract
.7zcorrectly. We recommend to avoid WinRAR and WinZip altogether and use exclusively 7-Zip as it is free and open-source. -
Run 7-Zip File Manager (
7zFM.exe).Click on menu Tools -> Options -> System -> Associate 7-Zip with -> Select all file types (+)
-
Download the installer of the Java runtime and editor: Java-Training_setup.exe
-
Follow the video guide:
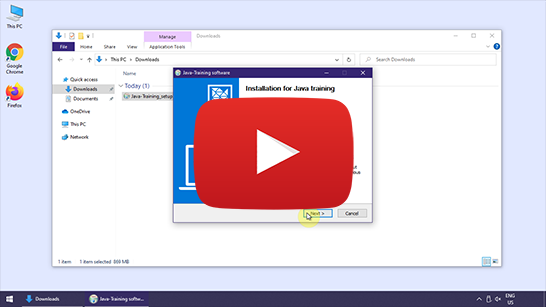
-
Try to open and run the Demo project:
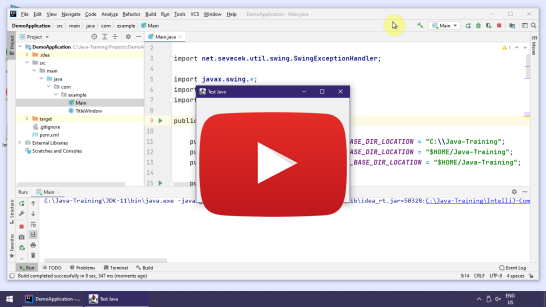
Removal of Temporary Files
After the installation is finished, you may optionally remove redundant files in Downloads (Java-Training_setup.exe) to reclaim some disk space.
Troubleshooting
-
Problem: Installer
Java-Training_setup.execannot be run because of missingRun anywaybutton or because it is marked as potentially harmful.Reason: This may occur when your Windows have too restrictive security settings or your anti-virus software is too suspecting. It is especially common when you use a company computer. In fact, it is not a real problem. It is only a false positive warning. The installer is not digitally signed (because it would cost a lot of money on yearly basis) and therefore some antivirus software prevents it from running. It does not mean that it really is harmful.
Solution: Well done then, do not start the installer. Donwload an alternative distribution archive instead: Java-Training.zip. Run 7-Zip and open
Java-Training.zipin it. Using 7-Zip, you can extract the files toC:\Java-Trainingmanually. Target folder is mandatory, watch out for the typos.Note: If you could not use 7-Zip (e.g. you do not have admin rights to install new software), you should be able to extract the archive using other applications as well. Try to prefer 7-Zip if possible, though, as it is guaranteed to work.
Follow the video guide:
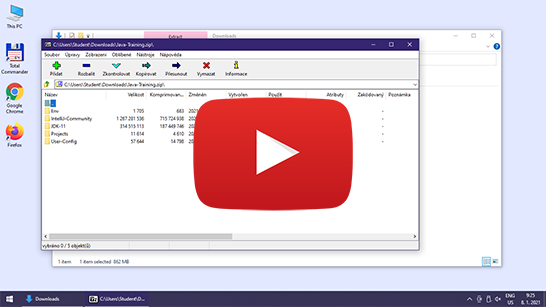
-
Problem: You open
Documents and Settingsfolder (instead of a valid projectDemoApplication). AlsoMaventab is missing on the right hand side bar.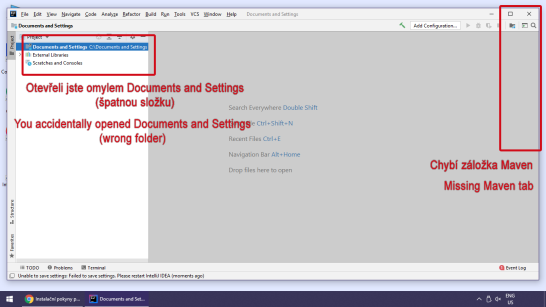
Reason: You misclicked in the open dialog and accidentally clicked on a wrong folder to open.
Solution: In IntelliJ IDEA, choose menu File -> Open... and choose the correct folder. Pay attention to the correct treatment of the open dialog in the regular video guide.
-
Problem: Maven build failed or the source code remained red.
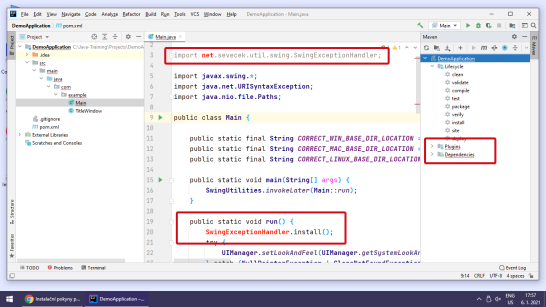
There may be multiple reasons:
-
You are currently disconnected from the internet.
Solution: You need to be connected to the internet the entire time. It will be useful during the programming as well. Go through the entire installation video guide once more while connected to the internet.
-
VPN (i.e. on a company computer).
Reason: You may have your Windows set up so that Maven should use your company private Java library repository, accessible only via VPN. Such a configuration would be in
C:\Users\YOUR_USERNAME\.m2\settings.xml.Solution: Compilation using Mavenem (
cleanandpackage) is necessary to be done with internet connection via VPN. Better stay connected to the internet via VPN the whole time. -
Prior points are fixed but there is still a problem that IntelliJ IDEA displays the code with incorrect color.
Solution: If red colors remain even after repeated execution of Maven goals (
cleanapackage), you may try somewhat more heavy duty approach:- Close IntelliJ IDEA
- Run
C:\Java-Training\Env\RunCmd.bat - A Command line will appear. Write following commands into it (and finish each by pressing [Enter]):
cd ..\Projects\DemoApplicationmvn clean package exec:java
- This time the
It workswindow should appear. - Start up IntelliJ IDEA.
- Click on Reimport Maven project again.
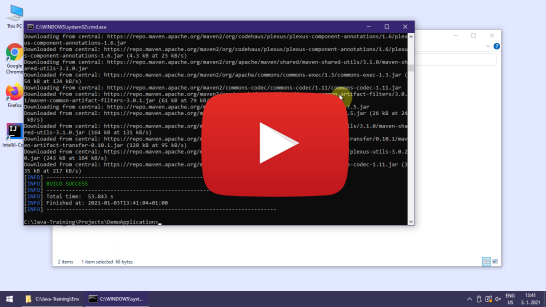
You can follow the video guide:
-
-
Maven build was OK, everything in the file
Main.javais blue / violet, especially line 3 in the green boximport net.sevecek.util.SwingExceptionHandler;is blue (as opposed to the red error), but the project still fails to start.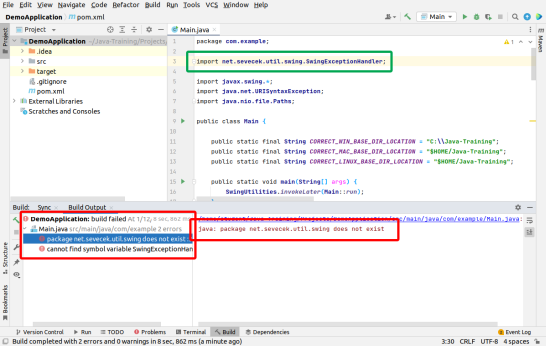
Solution: Restart IntelliJ IDEA. When IntelliJ IDEA restarts, it should already work. Perhaps an error in Matrix.
-
If none of the prior worked, will will fix the problem in person before the training.
Uninstallation
The only thing installation in fact does is extract the files to C:\Java-Training and spawns a Start menu shortcut for IntelliJ IDEA.
To remove the software package, backup your projects in C:\Java-Training\Projects, e.g. to C:\Users\YOUR_USERNAME\Documents.
Afterwards, just delete the entire C:\Java-Training.
Also, delete the IntelliJ IDEA shortcut in Start menu. You can find it in C:\Users\YOUR_USERNAME\AppData\Roaming\Microsoft\Windows\Start Menu\Programs\IntelliJ Community.lnk.
Almost done.
Maven downloads Java libraries to its cache folder in C:\Users\YOUR_USERNAME\.m2\repository. Delete it too.
And that is all.
Notes for those curious
You will use Javu during the training course (namely AdoptOpenJDK) and programmer's editor IntelliJ IDEA (Community Edition).
You must not install it from the official sources.
Use our bundled archive, which is just extracted to (C:\Java-Training) and everything works automatically.
If you installed software from the official sources, you wouldn't have it configured properly for the training.
Note: The software is not really installed at all. All files are just extracted from the zip archive (which is bundled inside Java-Training_setup.exe).
Software configuration is diverted to C:\Java-Training\User-Config and does not use the user profile folder.
therefore it is very much a portable distribution.
Note: If you already have a regular JDK or IntelliJ IDEA installed, it is not a problem. We will just not use it. The software from our installation does not interfere with your regular applications.