JavaInstall
Installation Guide for Windows
This guide is only for Windows. You can choose macOS guide here.
Linux is not supported. If you needed Linux installation guide, please, contact us.
Follow the instructions even if you already have some of the software installed
(including C:\Java-Training). Existing software will just update and any previous projects will not be lost. The C:\Java-Training\Projects folder is not erased.
All other files and subfolders of C:\Java-Training will either stay intact or will be overwritten by a newer version of the software.
If you are an experienced user, you can skip to the short description, but we recommend to follow this version.
Detail guide:
-
Install 7-Zip.
Watch out: 7-Zip is better than WinRAR or WinZip. Install it even if you already have them. Especially we noticed WinRAR being unable to extract
.7zcorrectly. We recommend avoid WinRAR and WinZip altogether and use exclusively 7-Zip as it is free and open-source.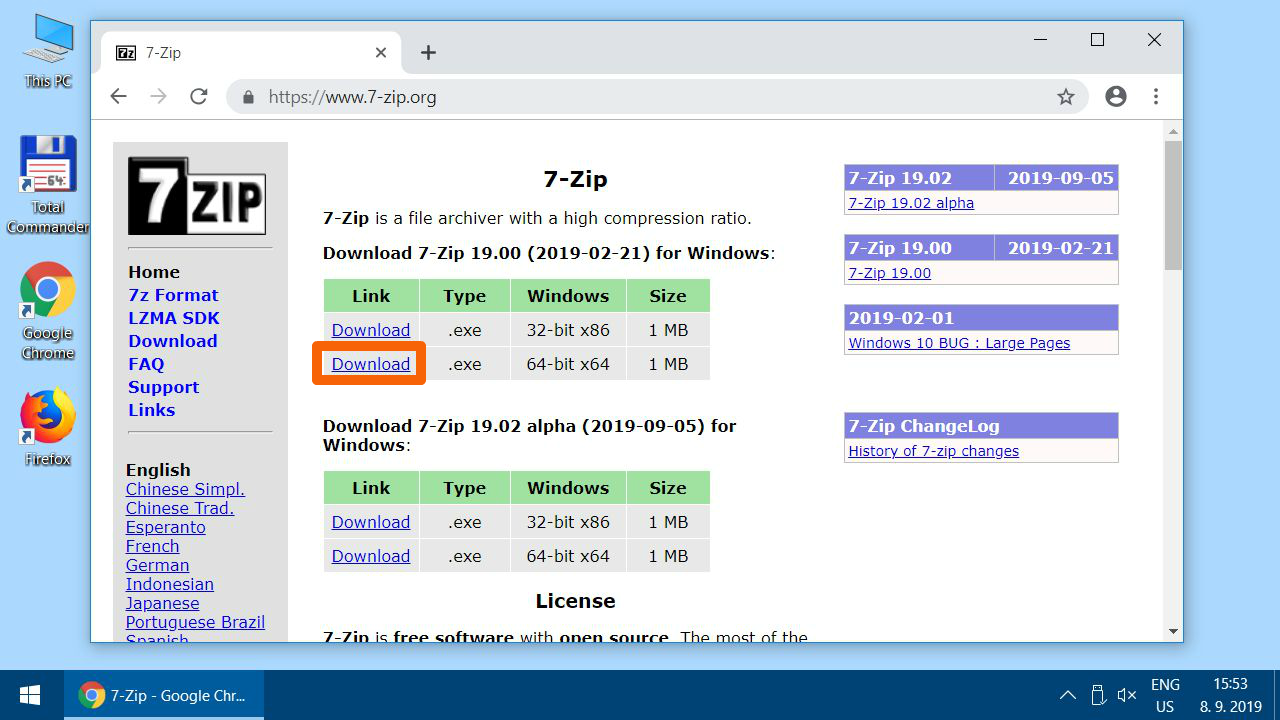
-
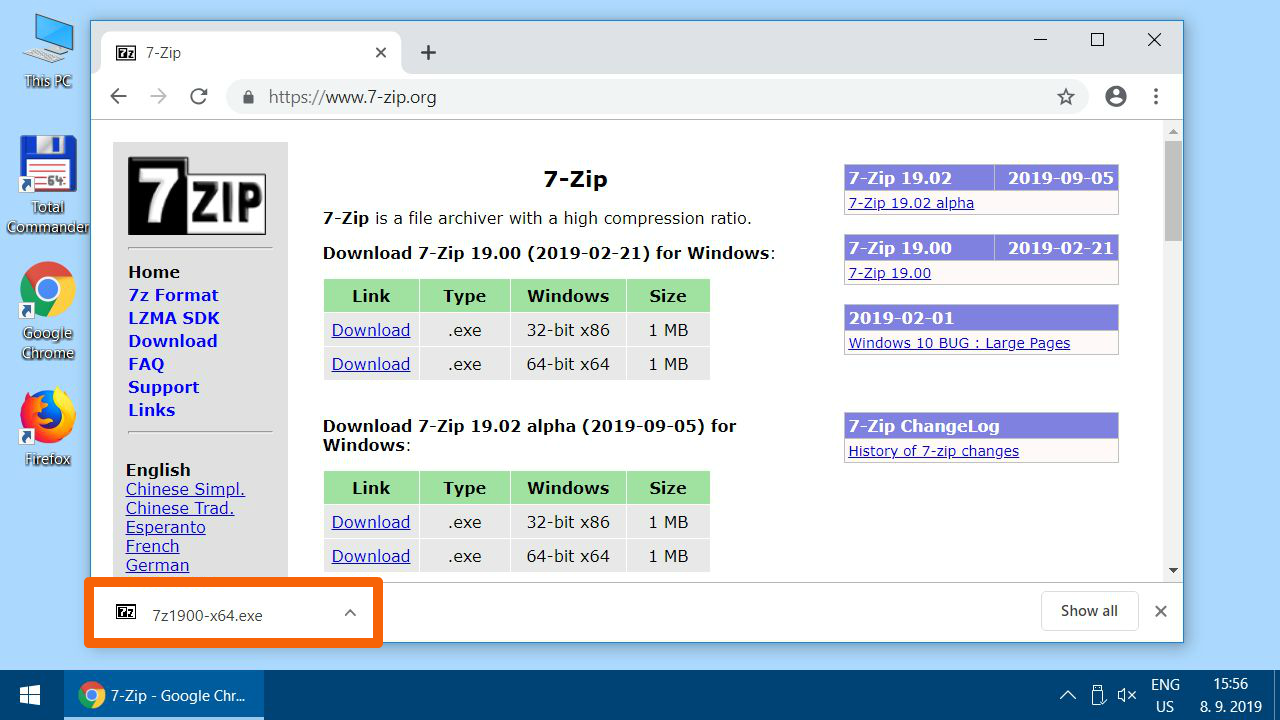
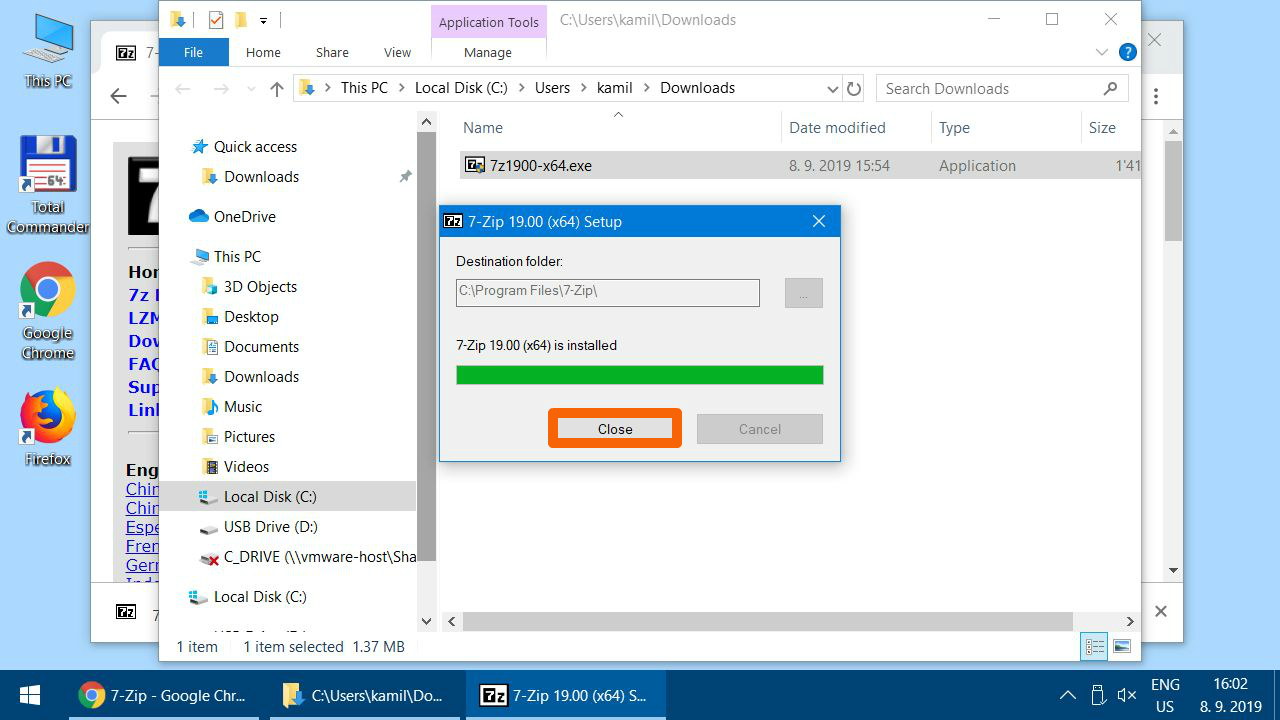
Run the downloaded installator for 7-Zip.
-
-
-
-
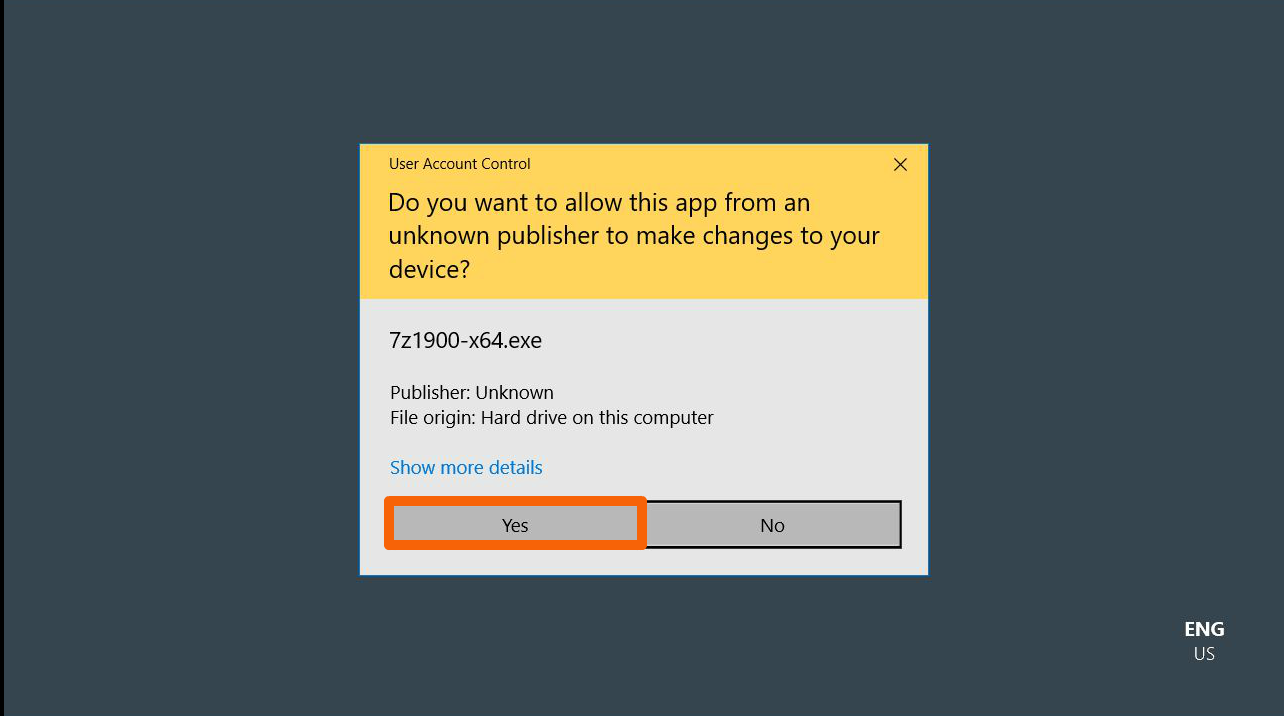
If you are asked by Windows to permit admin changes, go ahead. (Yes/Ano)
-

-
-
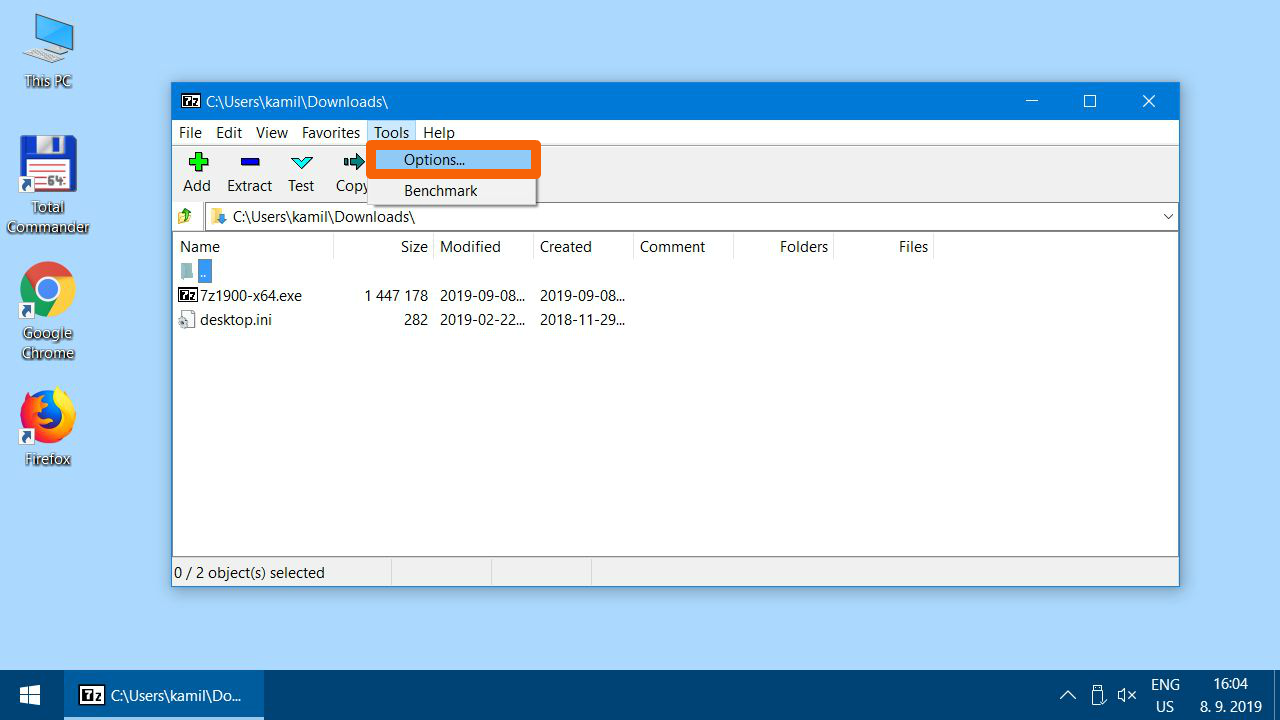
Run 7-Zip File Manager.

-
Open app settings.
-
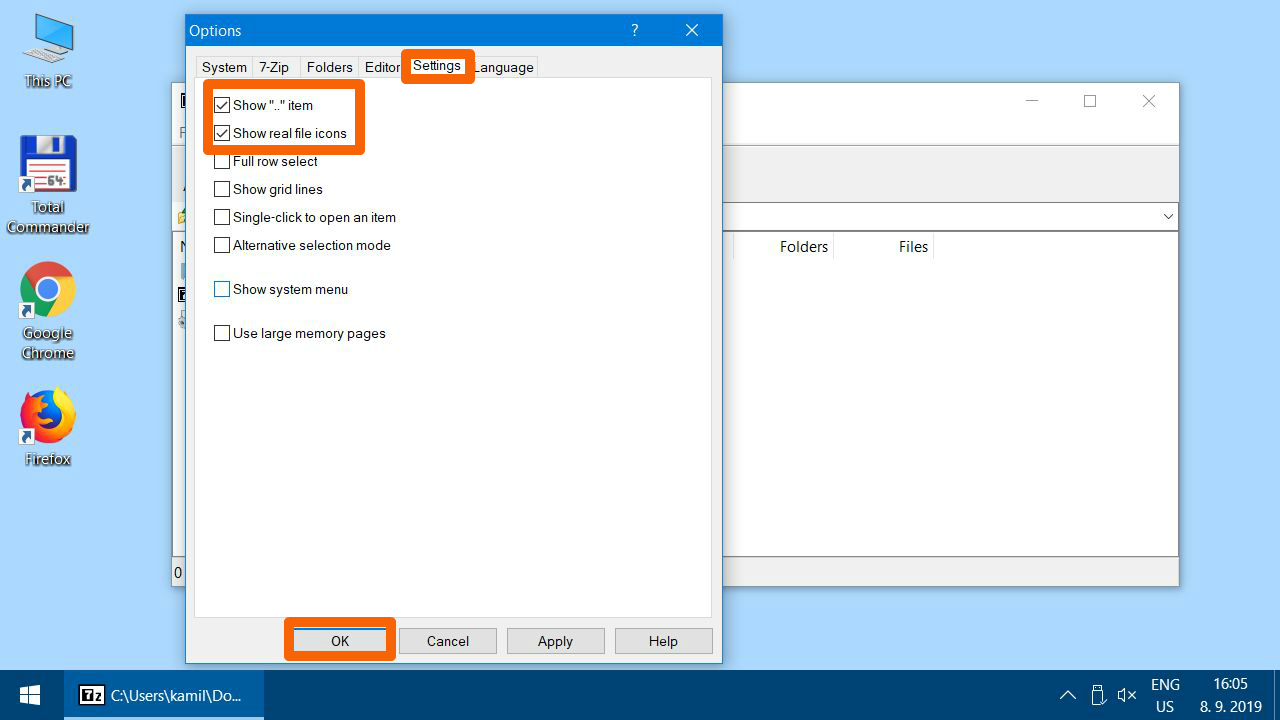
Check whether you have 7-Zip associated with .7z a .zip. We recommend using it for all types of supported archives. (All types can be selected by the plus + button)

-
A couple of convenient settings. Confirm by clicking OK and close all settings dialogs.
The installation procedure itself
-
Download the installer Java-Training_setup.exe
-
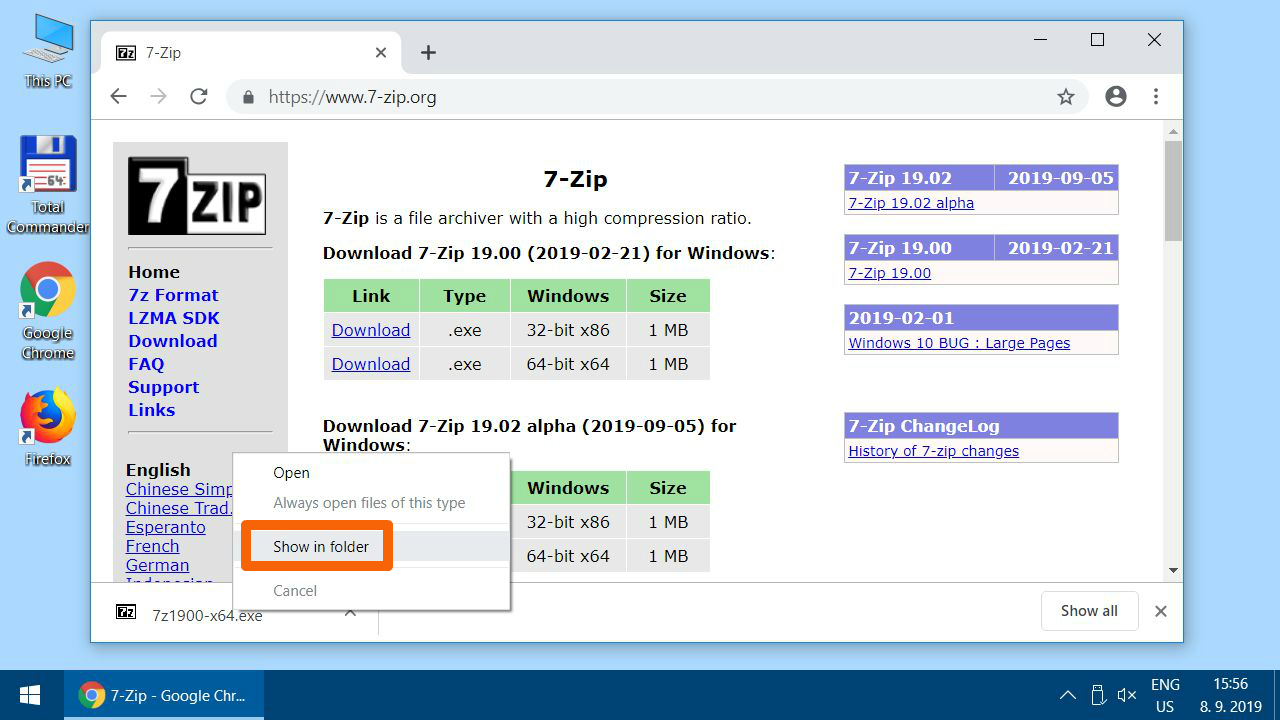
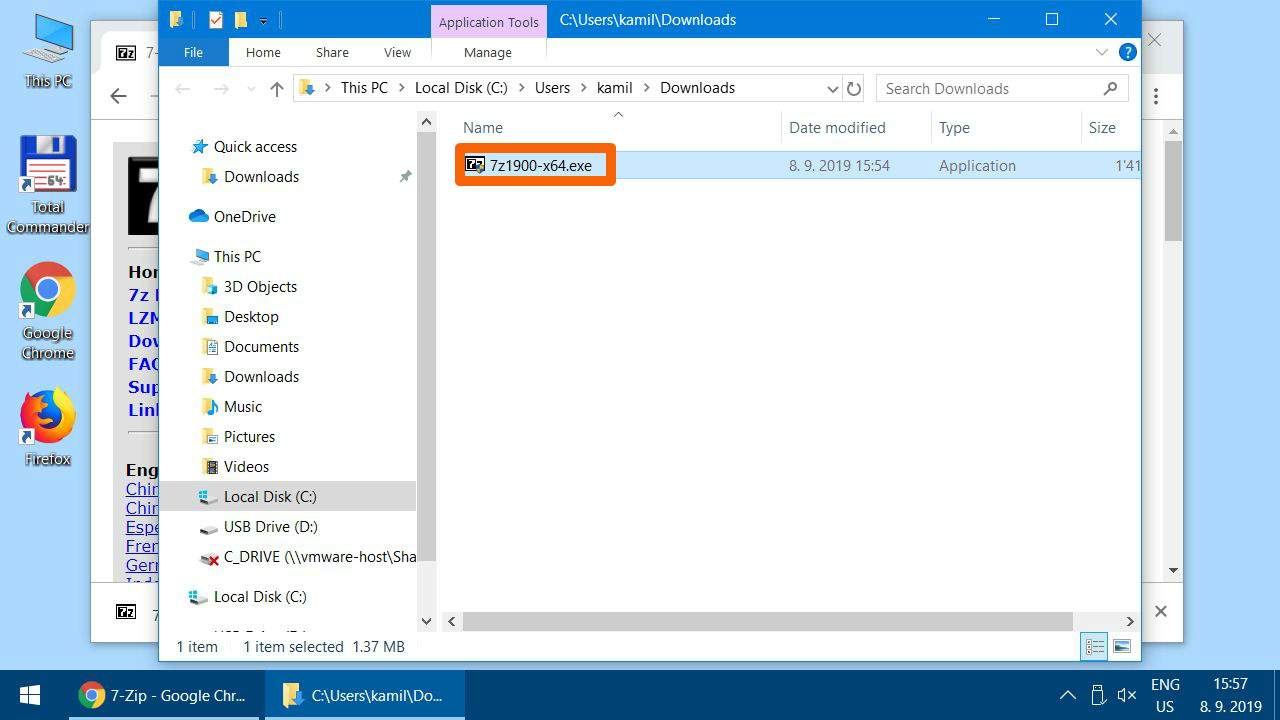
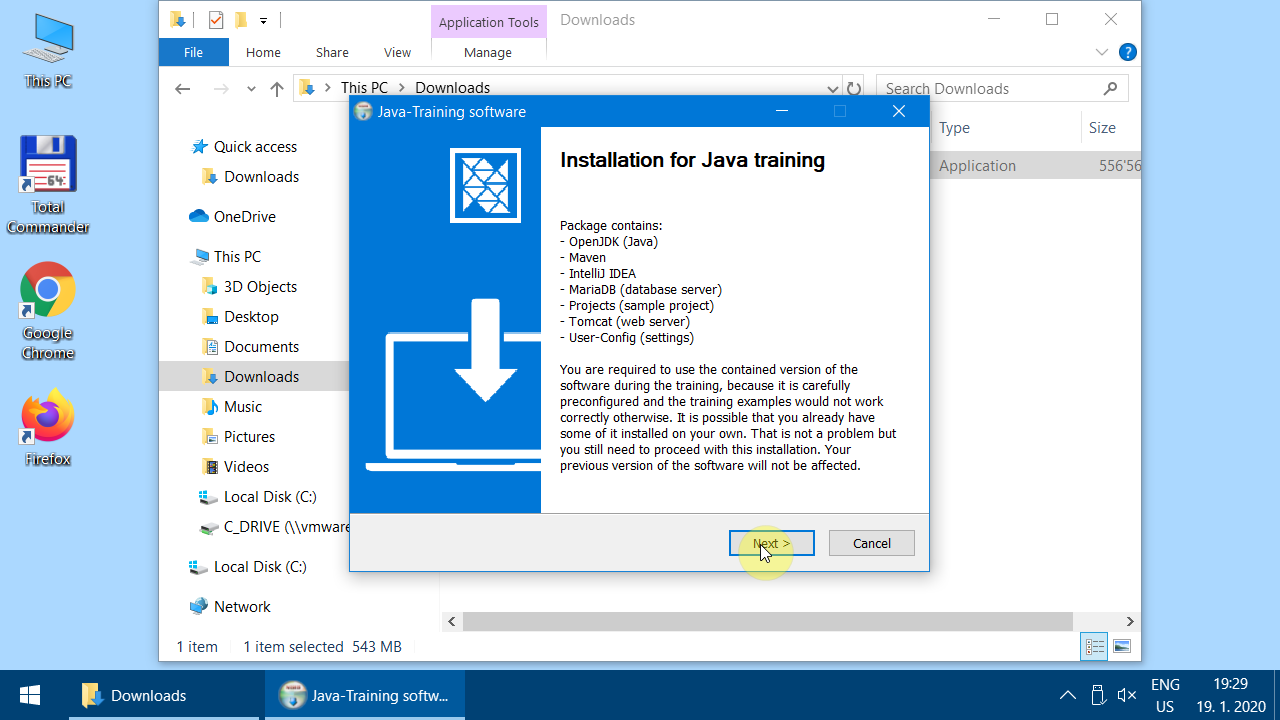
Find the downloaded file
Java-Training_setup.exe(probably inDownloads) and run it.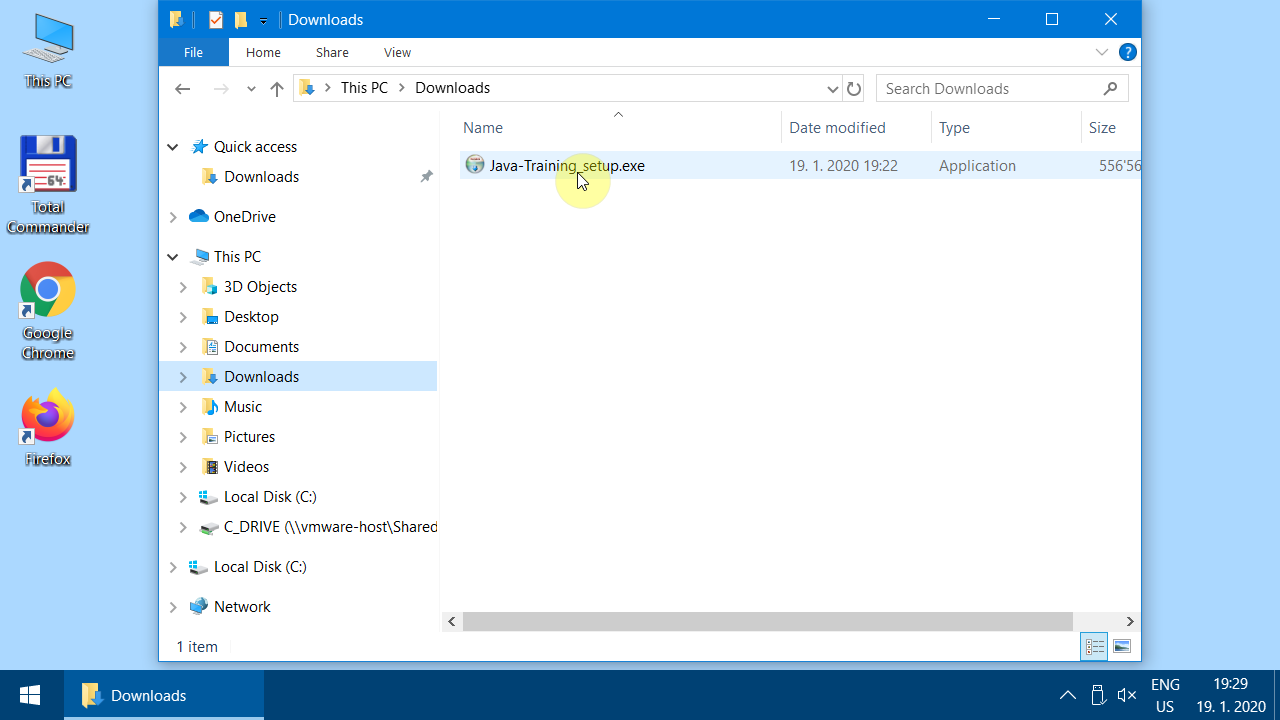
-
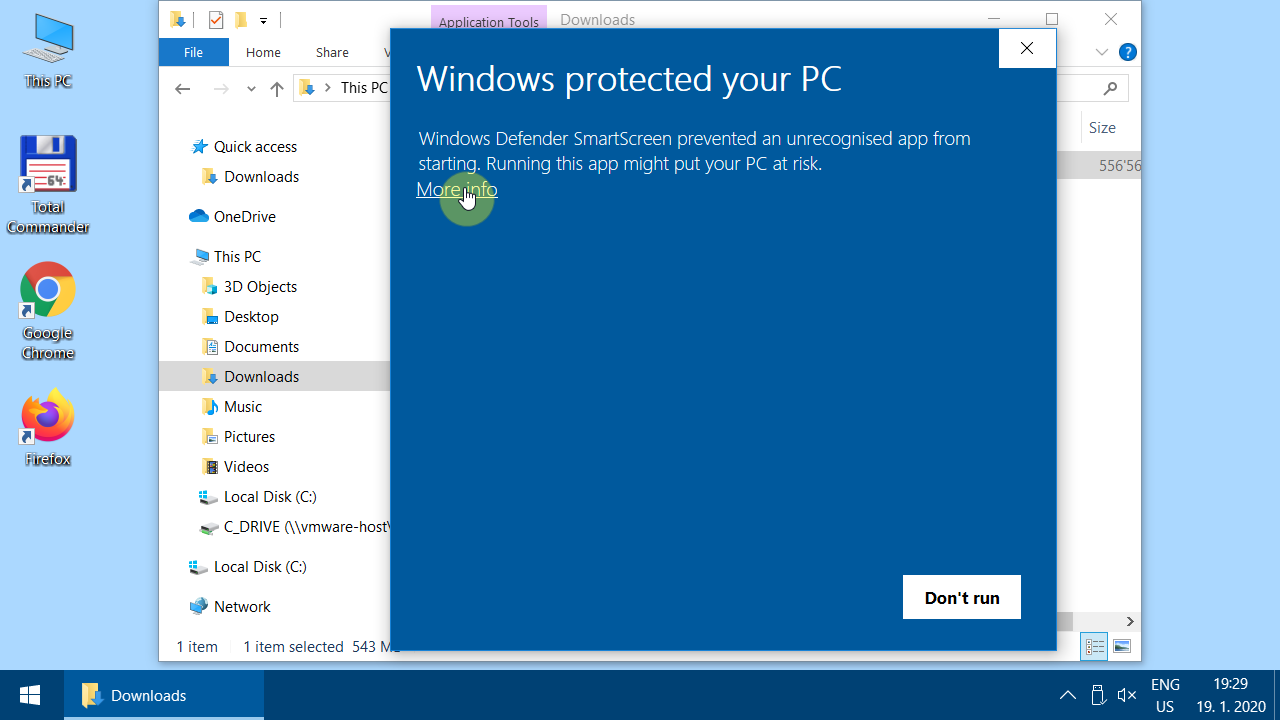
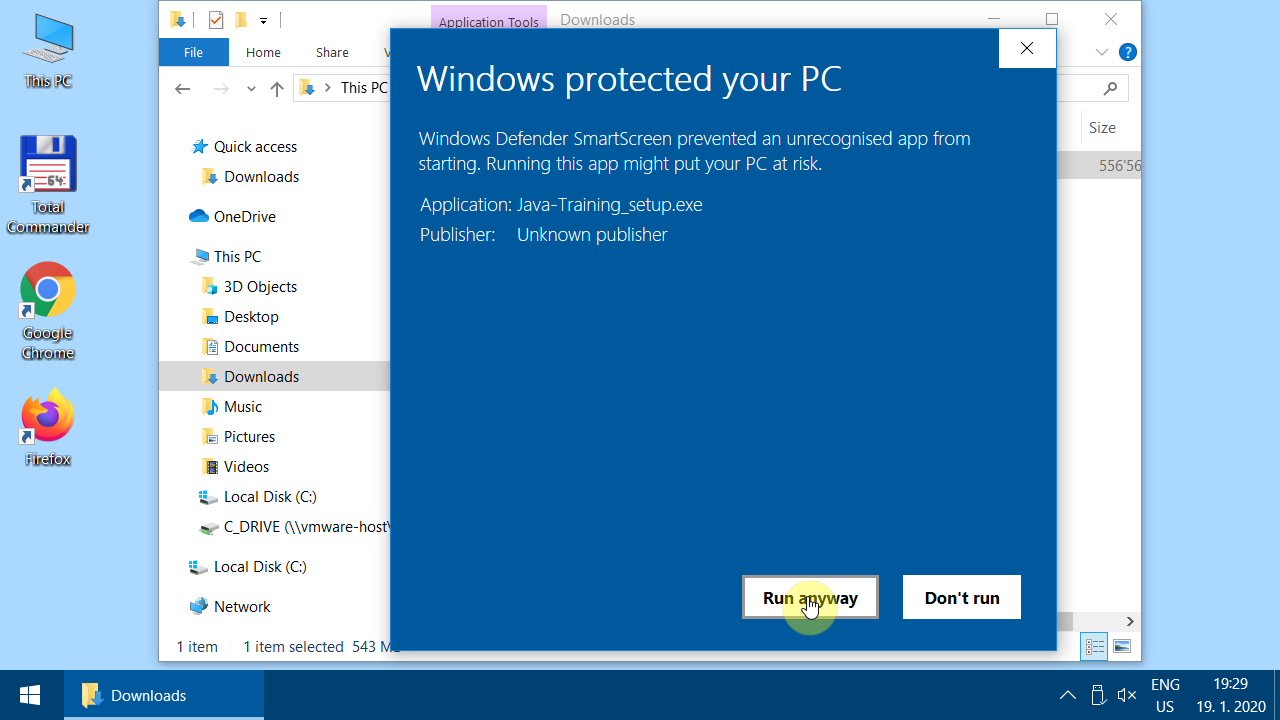
You will probably hit the warning of missing digital signature. This is not a problem. Accept the exception.
-
-
If you were unable to run the installer anyway or your antivirus does not allow to run it, switch to the manual extraction of an archive. Otherwise, follow on.
-
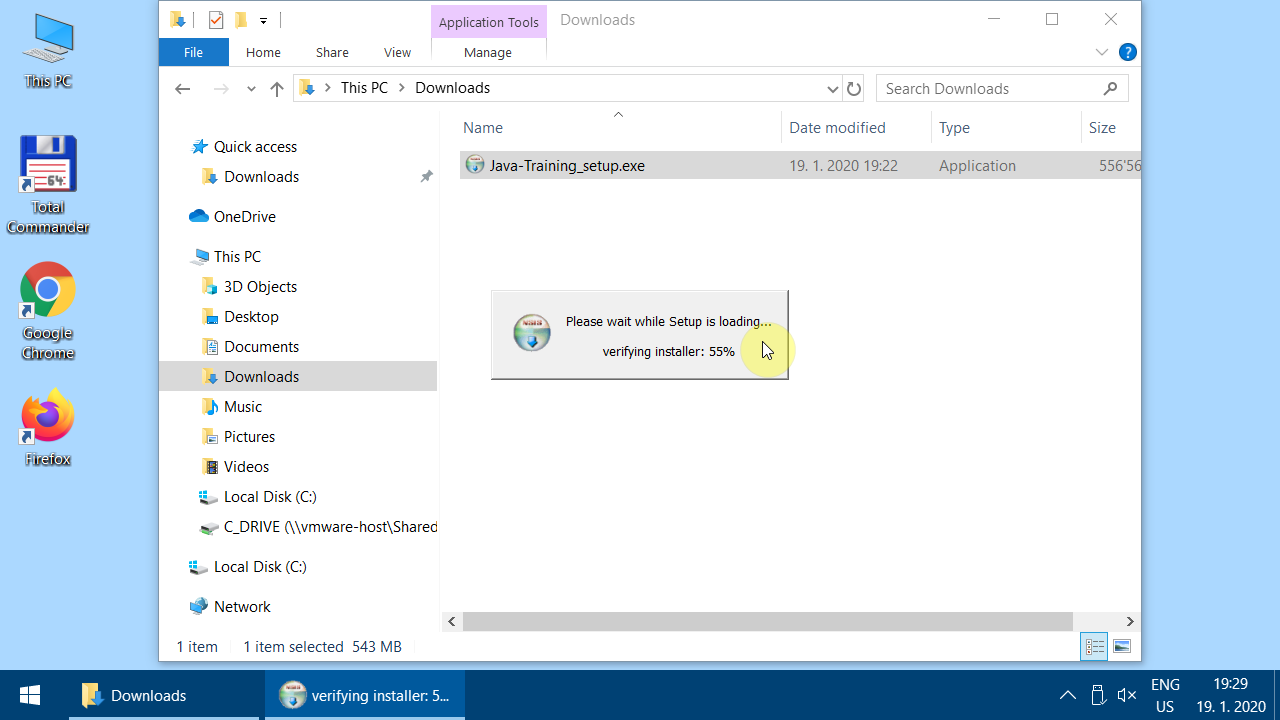
-
-
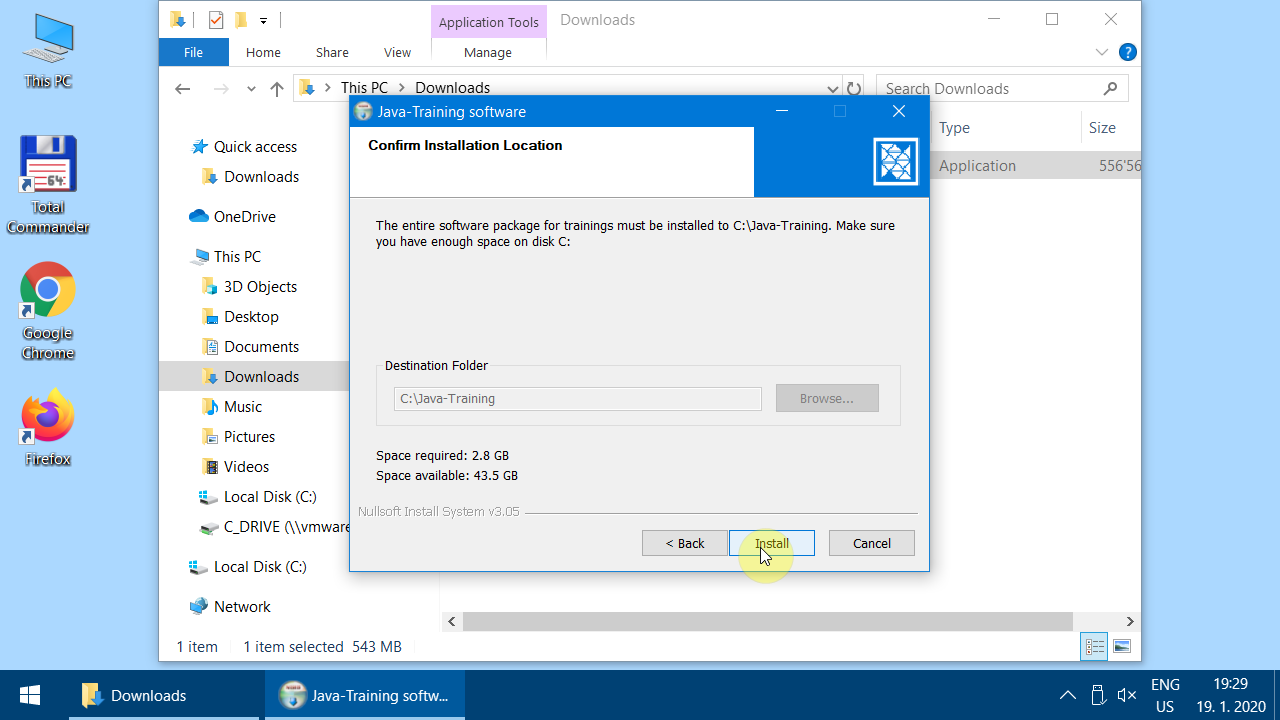
-
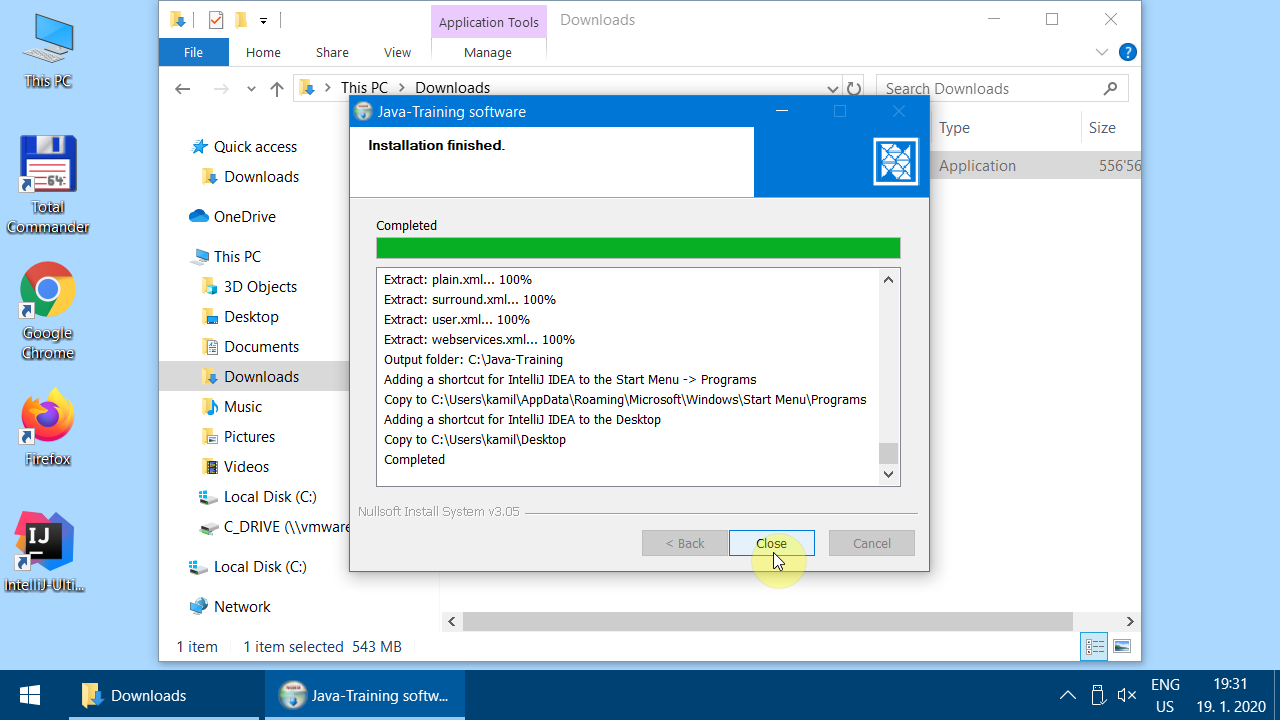
-
Installation is finished.
Test the installation
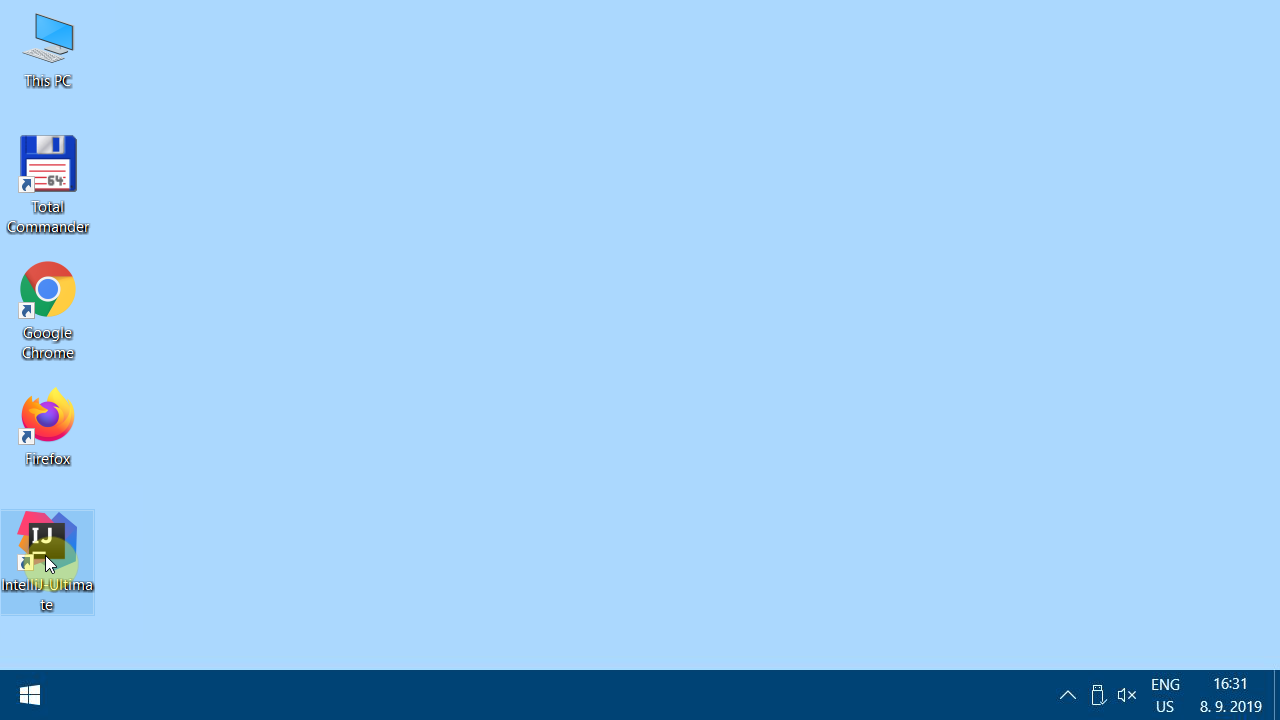
-
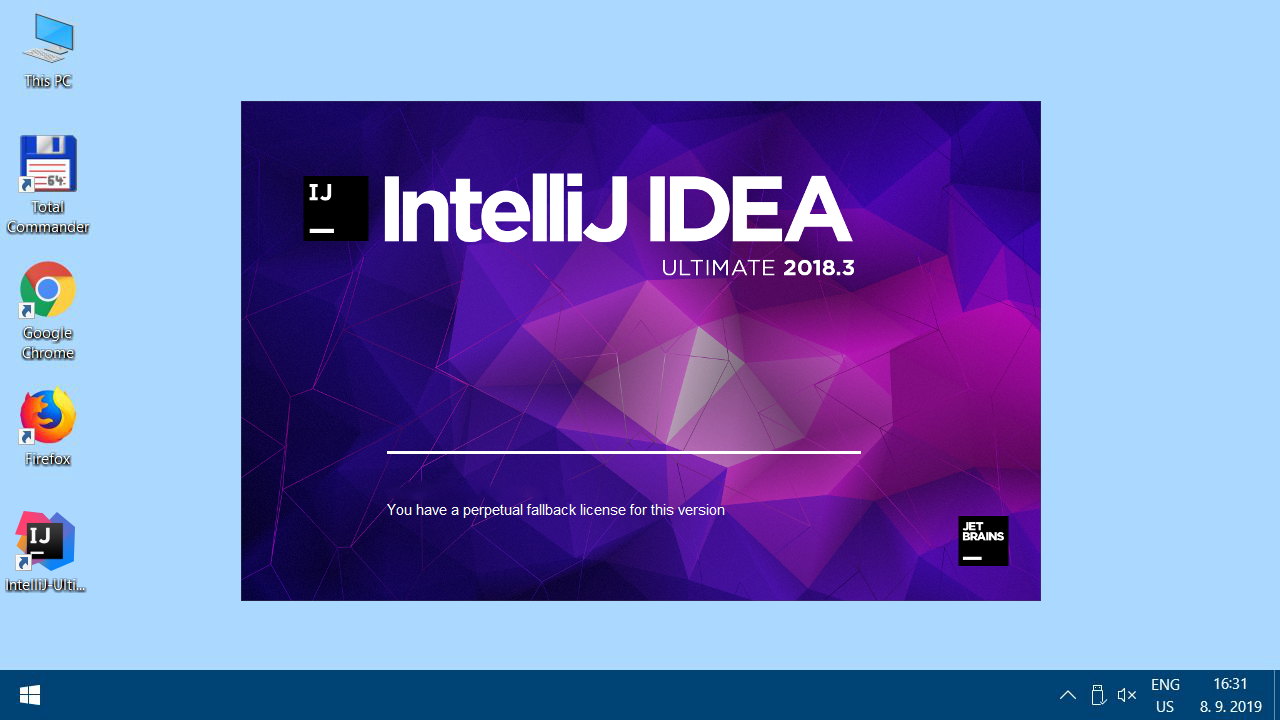
Run IntelliJ IDEA - Ultimate Edition. Be patient - the computer will look like it is "doing nothing" after double click, but the splash screen should appear shortly. It is necessary to be connected to the internet at this point.
-
Make sure you are connected to the internet.
-
Choose Evaluate for free.
-
IntelliJ IDEA will start.
-
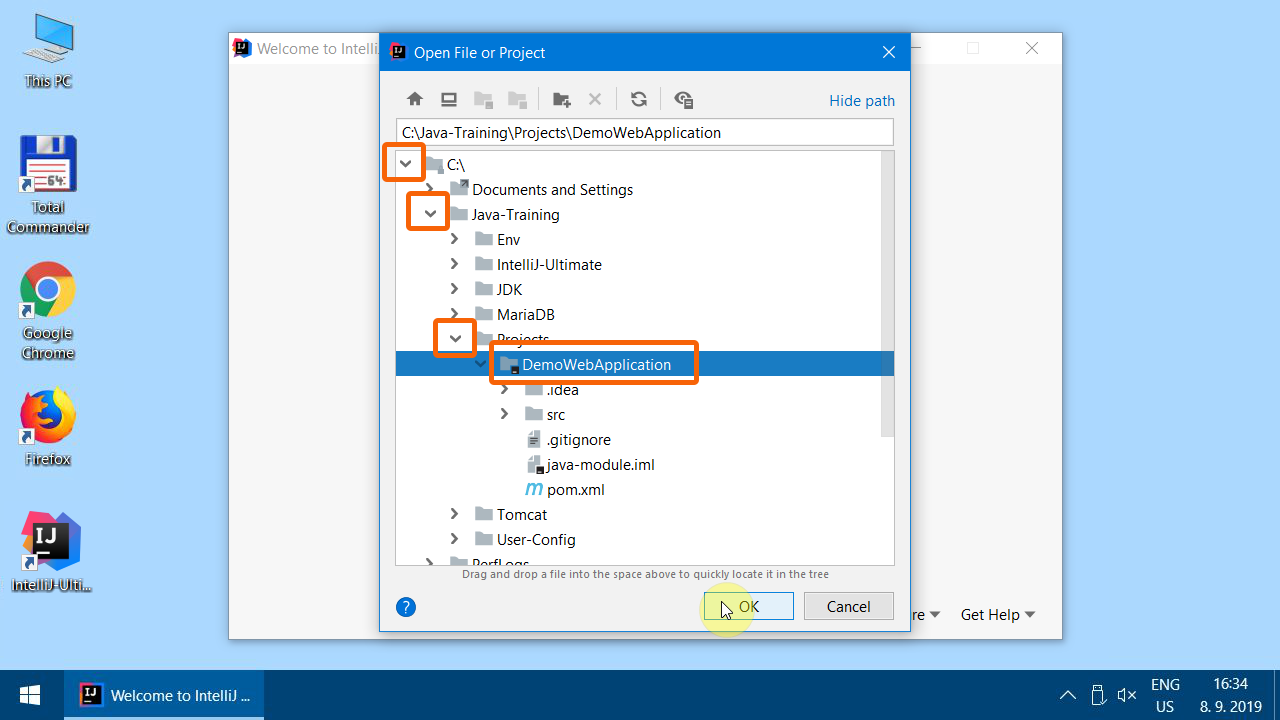
Open the demo project
C:\Java-Training\Projects\DemoWebApplication.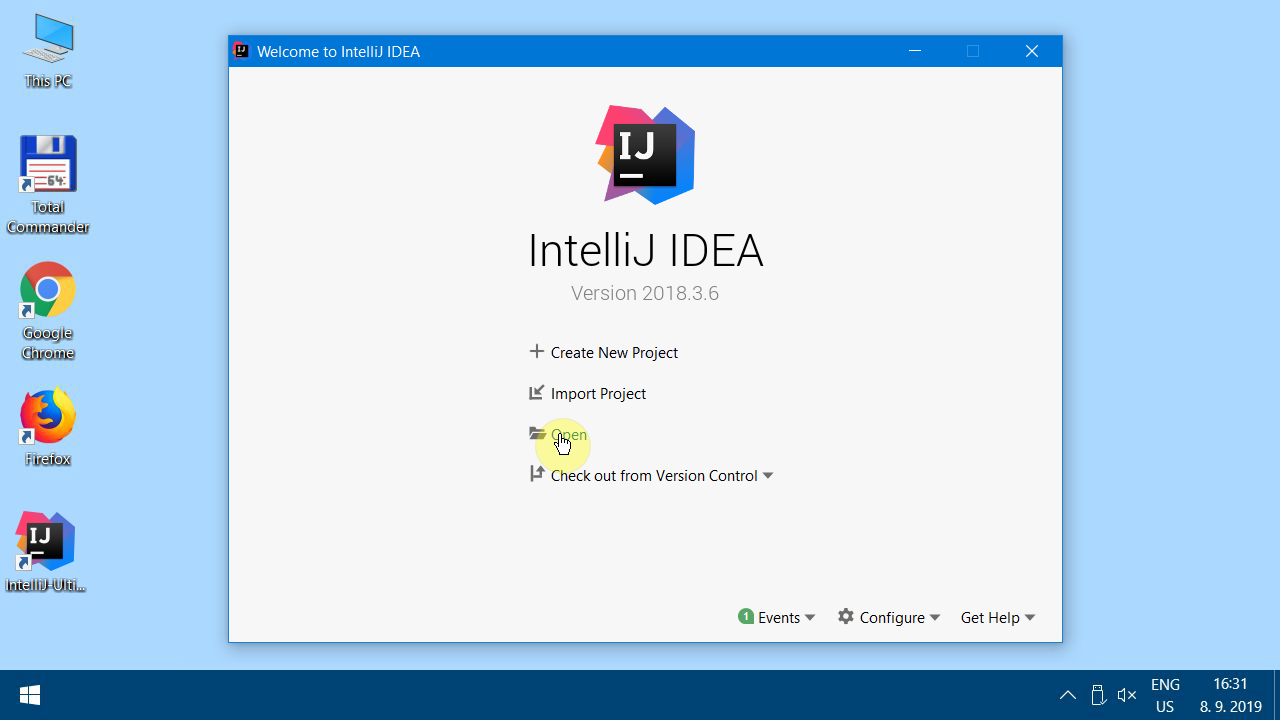
-
Watch out! Always expand the arrows in the open dialog using single click only to drill down to subfolder. Never click twice on the folder name. Sometimes it could be mistakenly understood by IntelliJ IDEA to import the entire double-clicked folder and not just expanding the folder.
-
-
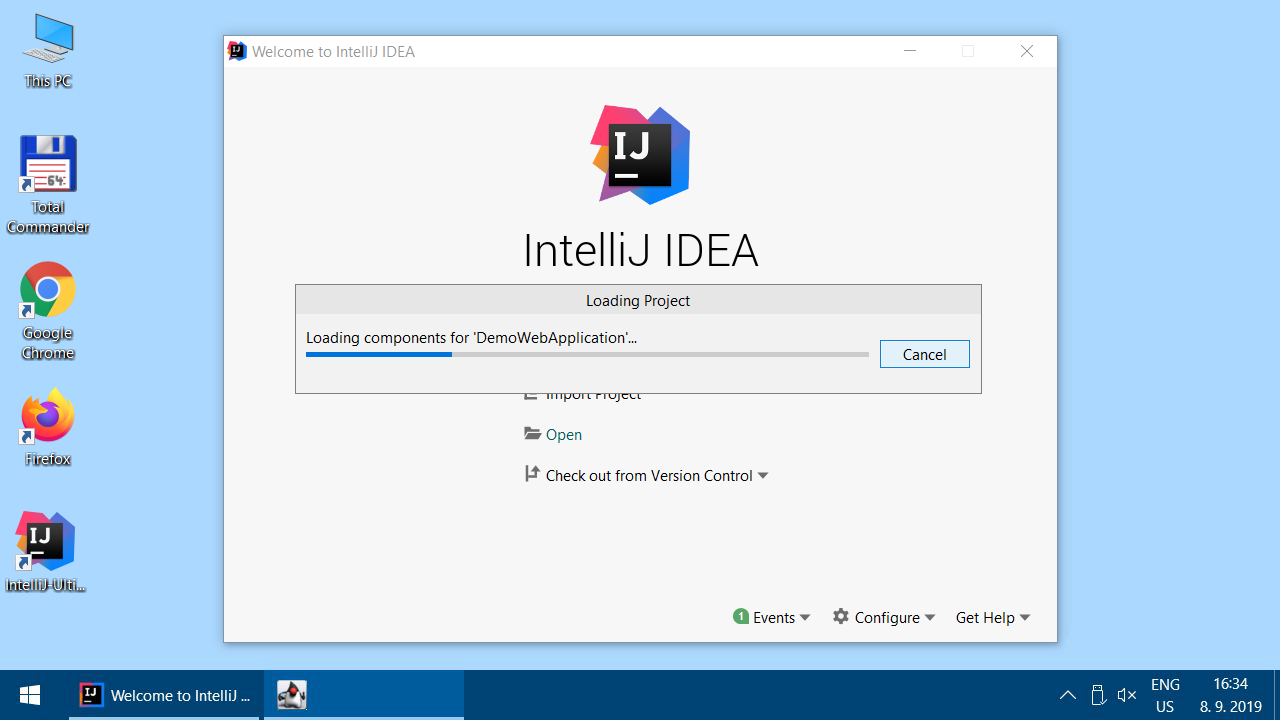
Wait for IntelliJ IDEA to index the entire Java runtime. When first run, it can take several minutes. It is necessary to still be connected to the internet.
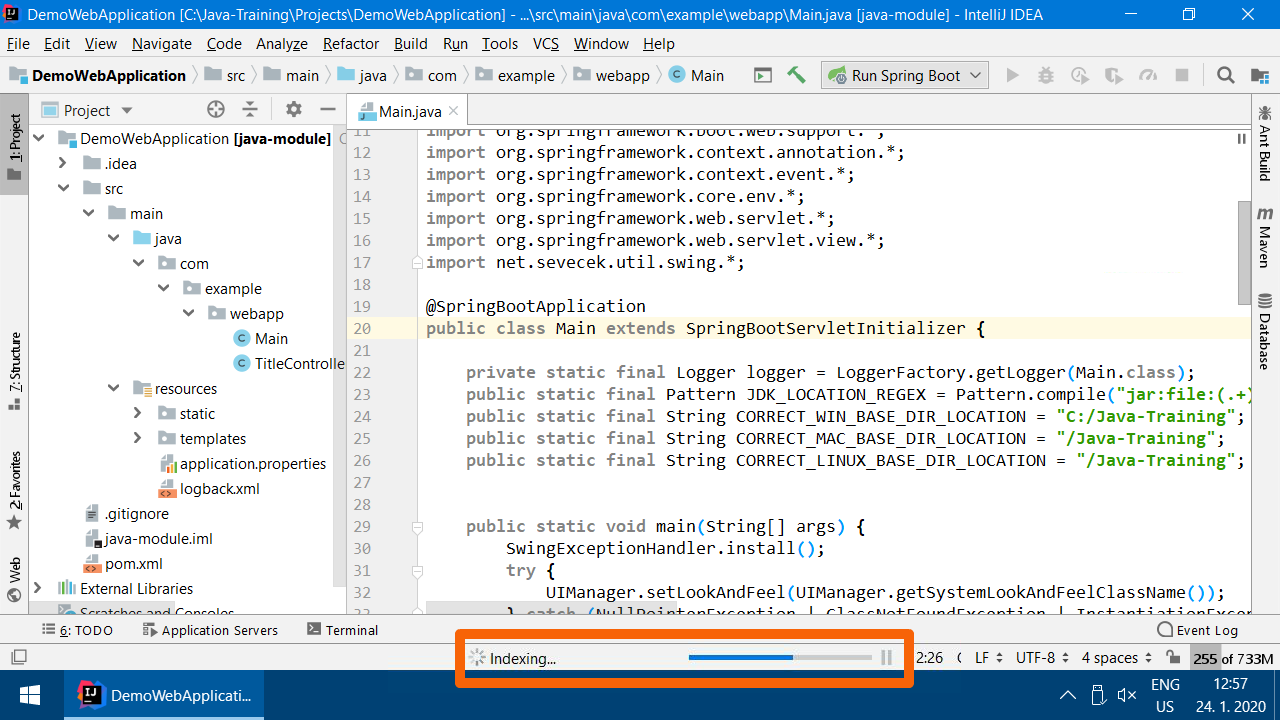
-
You should see
Main.javain the open project. If not, expand the folders in the left panel (clicking on the arrows again) and double-click on theMain.java.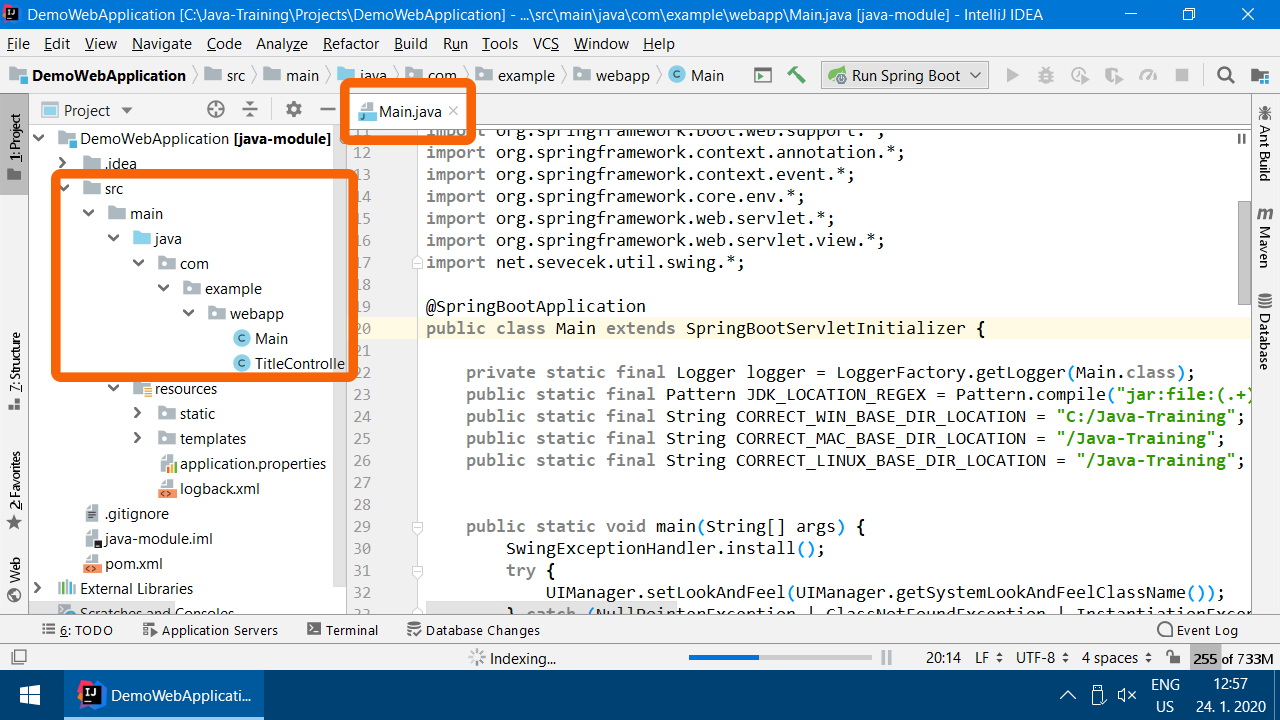
-
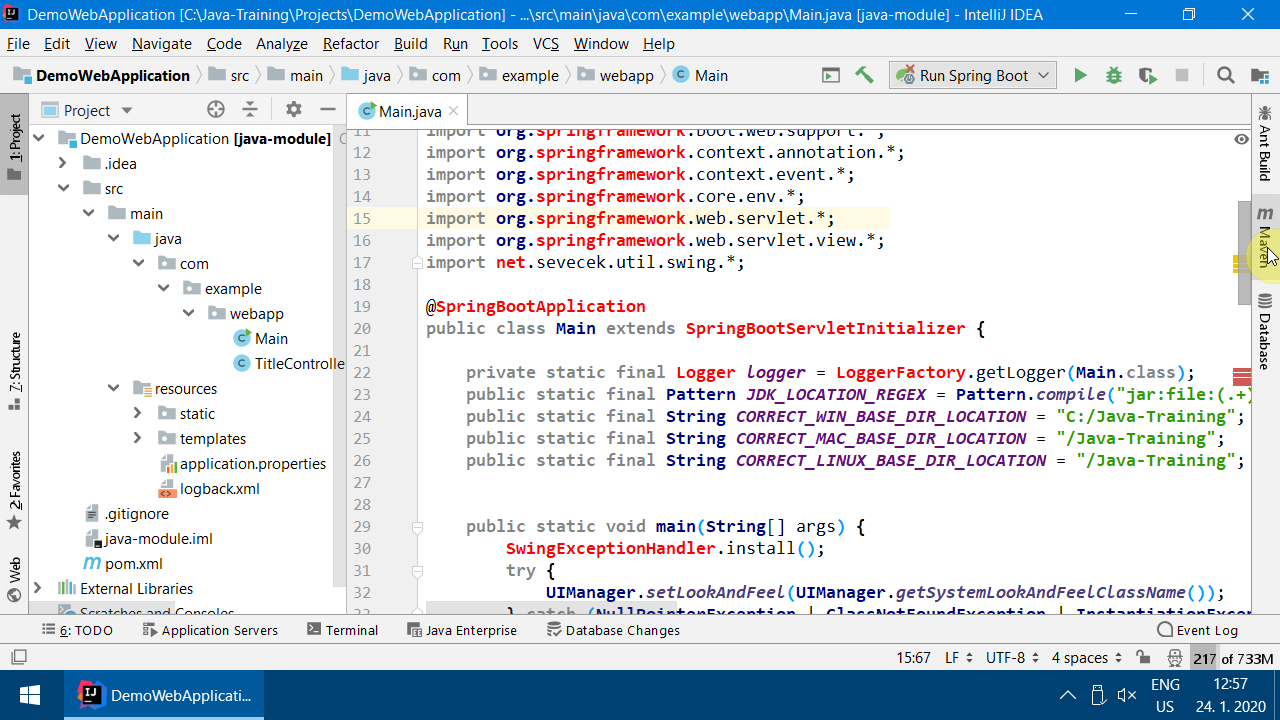
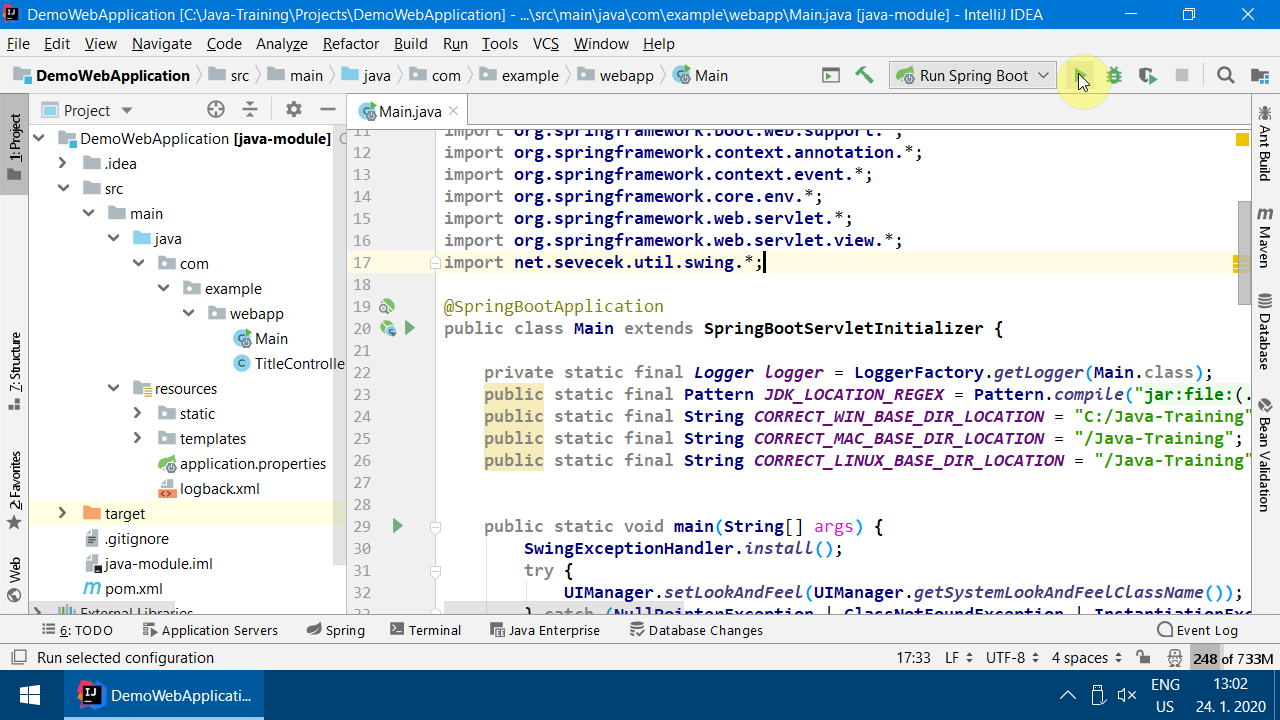
If IntelliJ IDEA is correctly set up, the source code in
Main.javashould be blue-violet as on the picture. If you see it you can skip to step 21.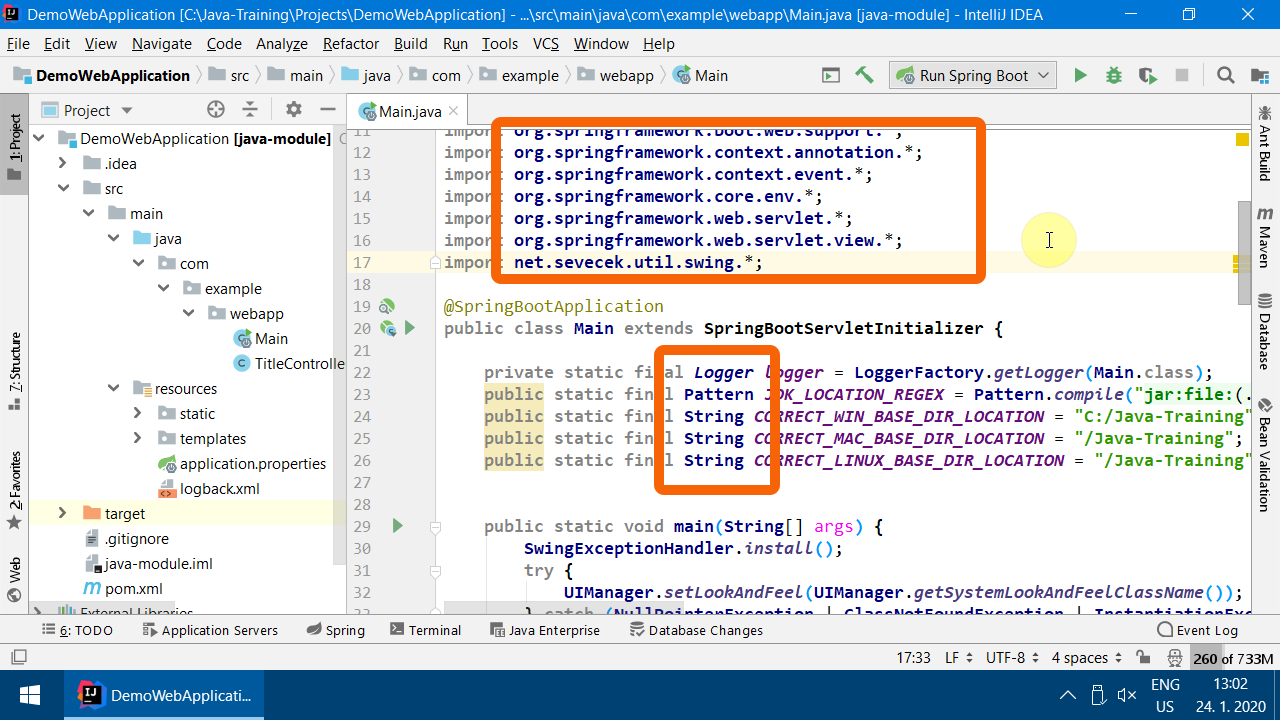
-
If you had a problem with internet connection, it could happen that you would see errors like bellow. If not, skip the corrective steps.
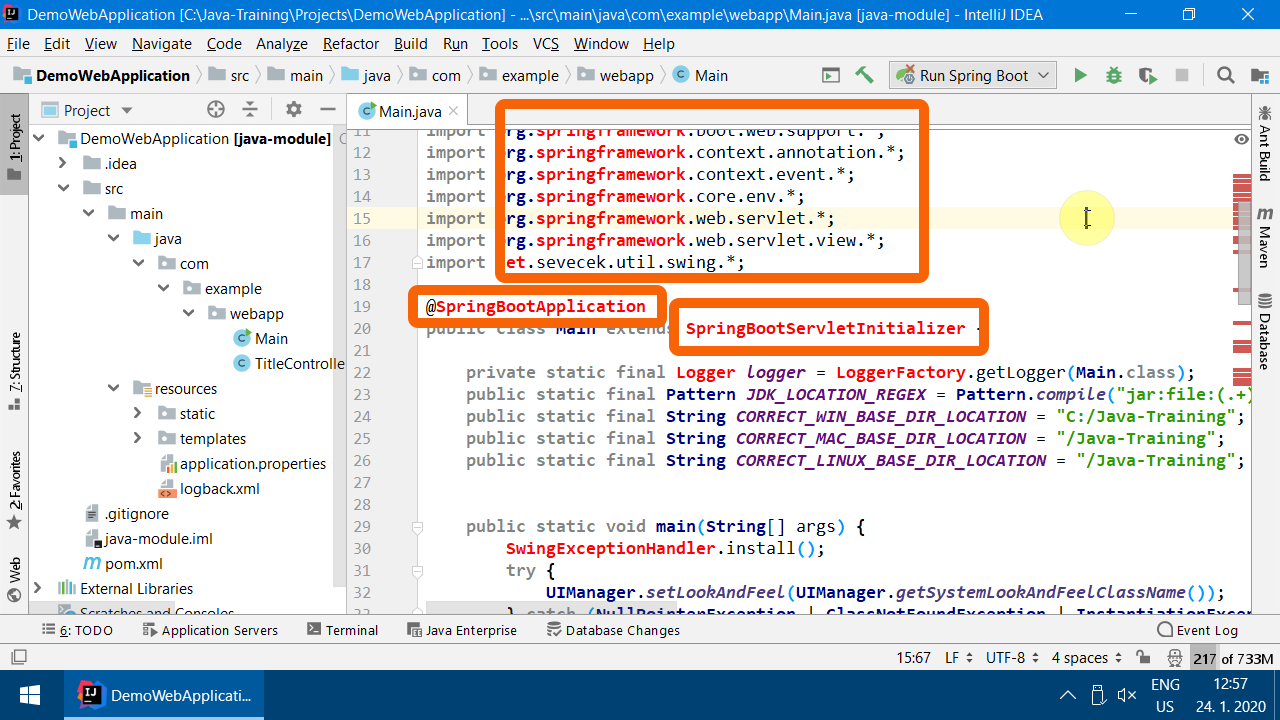
-
Corrective steps: When finally on the internet, open "Maven" tab.
-
Click
Reimport All Maven Projectsbutton.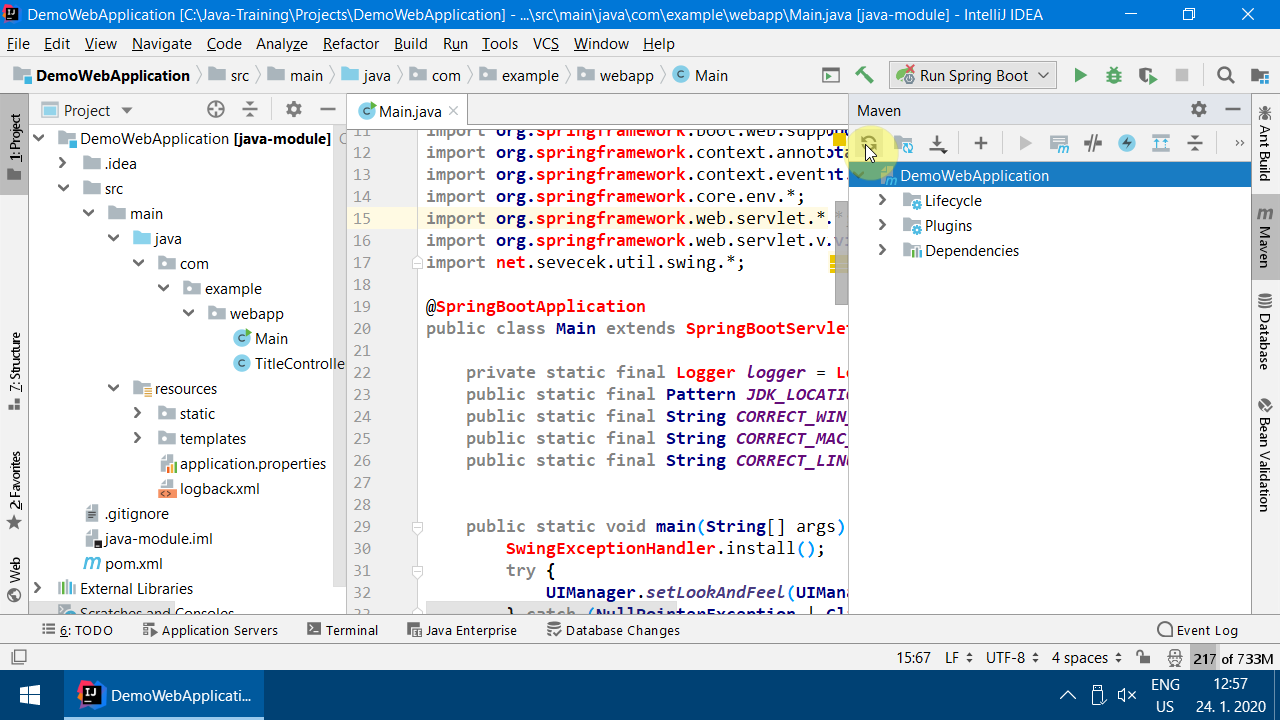
-
Still not fixed? Open Maven
Lifecycle, choosecleanand run the action. Watch out! It is a different arrow thenRun Main!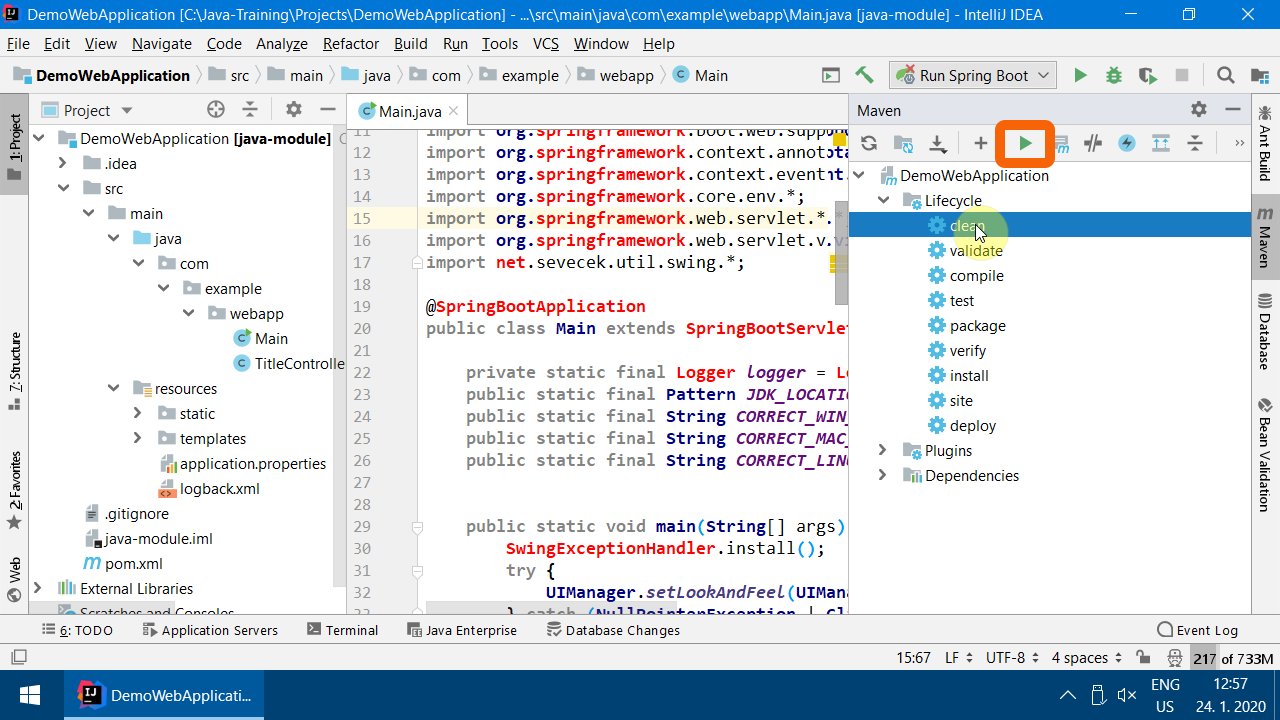
-
It it went OK, you will see
Process finished with exit code 0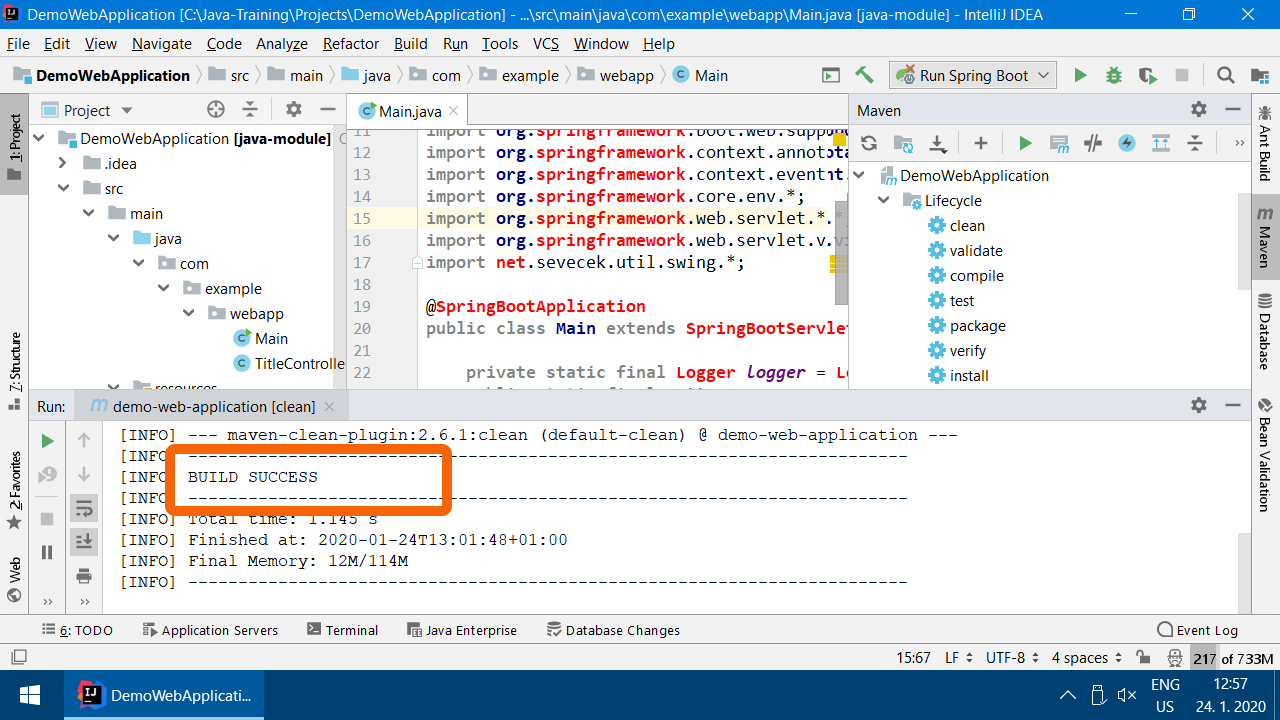
-
Follow on with
packagegoal.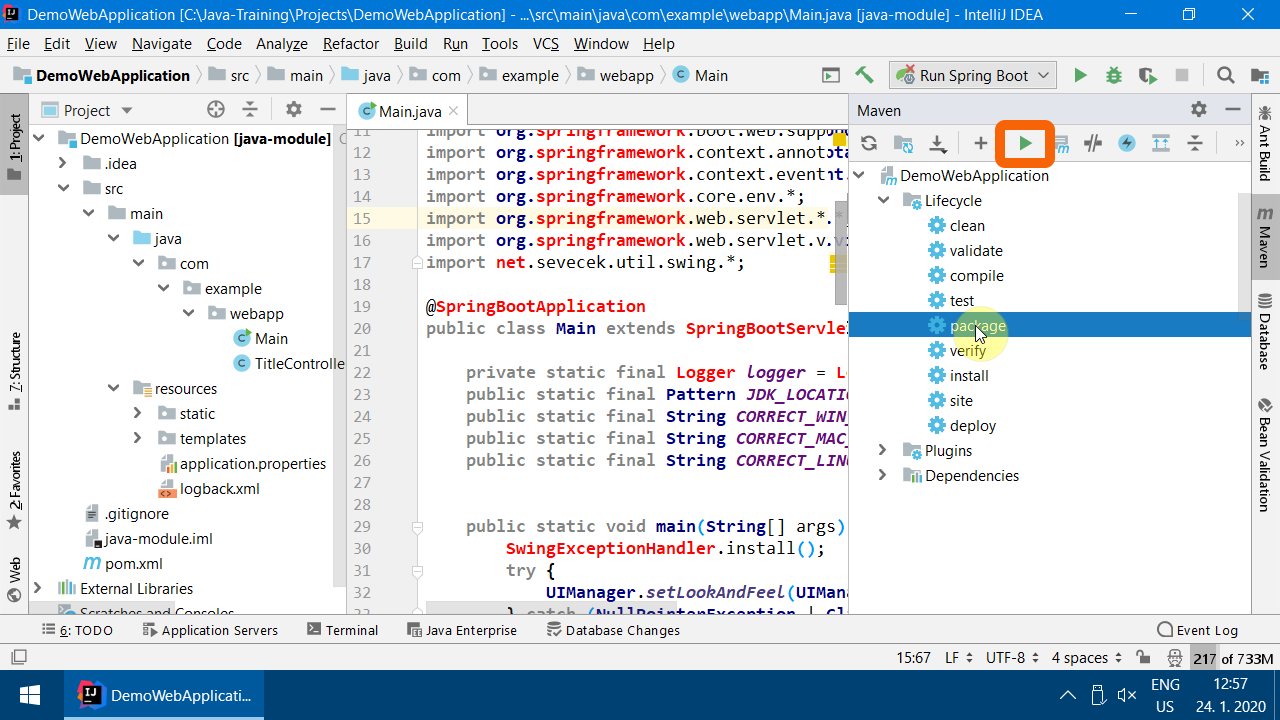
-
Success:
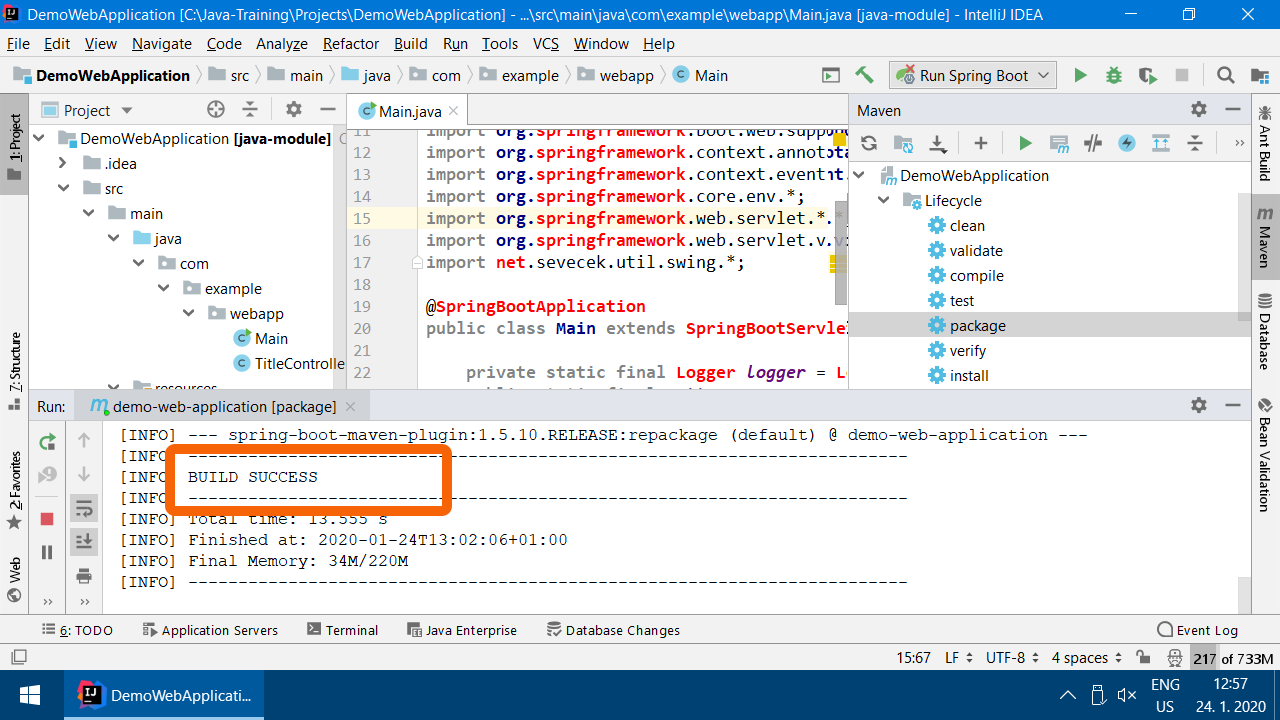
-
Repeat
Reimport All Maven Projects.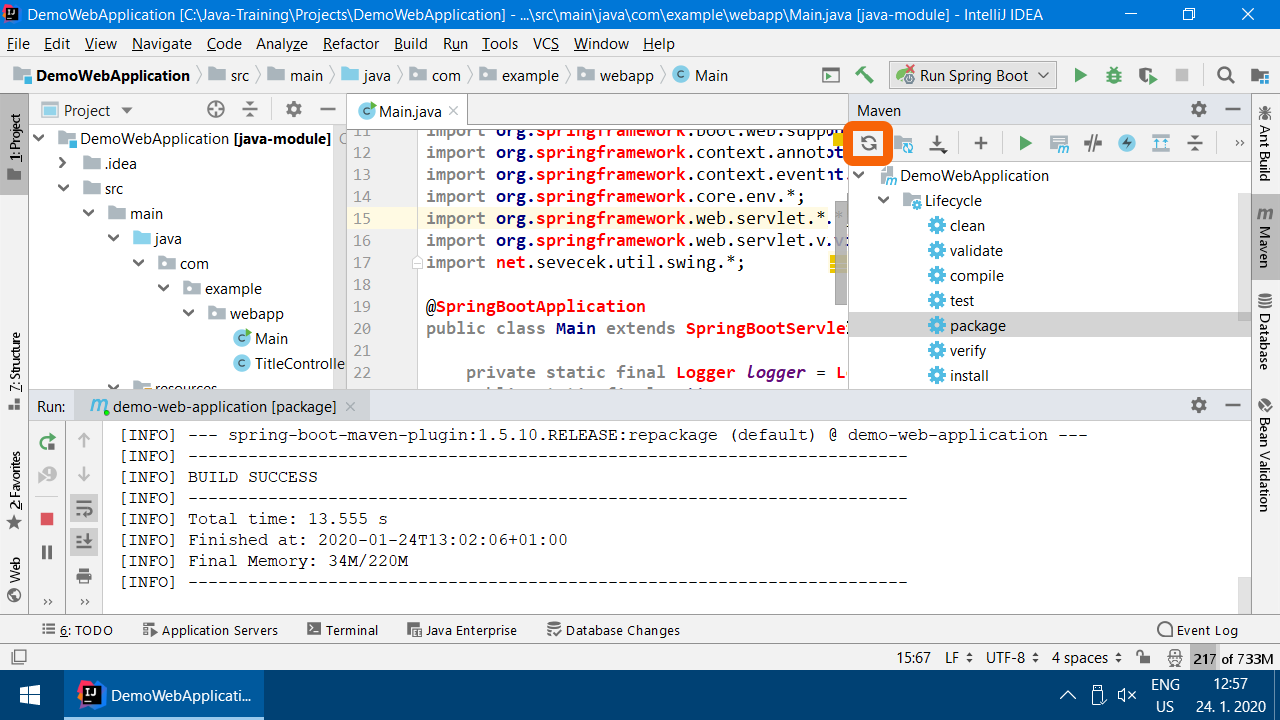
-
Look for
SwingExceptionHandlernot being red now.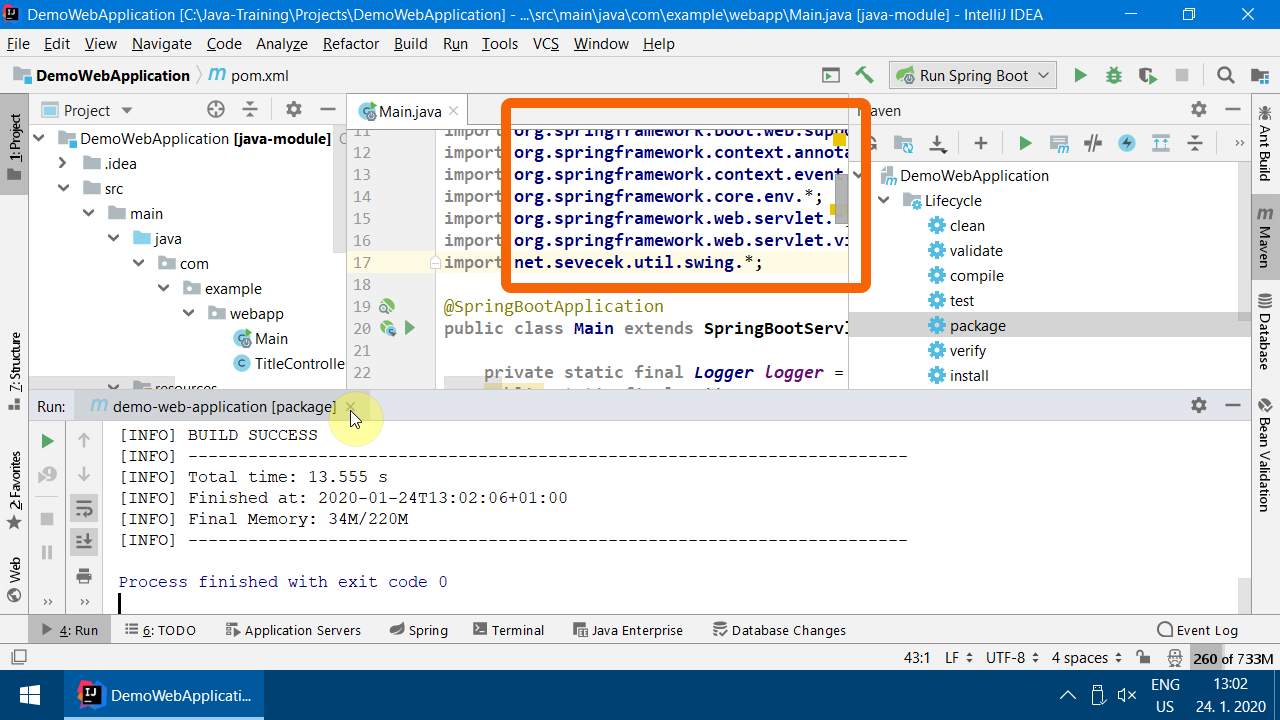
-
Check the correct situation on picture 19. If it is OK, follow on.
If not, try more heavy duty steps:
- Close IntelliJ IDEA
- Run
C:\Java-Training\Env\RunCmd.bat - Write to the (black) command line (and confirm each line with
Enter): cd ..\Projects\DemoWebApplicationmvn cleanmvn package- Run IntelliJ IDEA again
- Click
Reimport All Maven Projects(as in step 12) - If it doesn't help, we will fix it at the workshop.
-
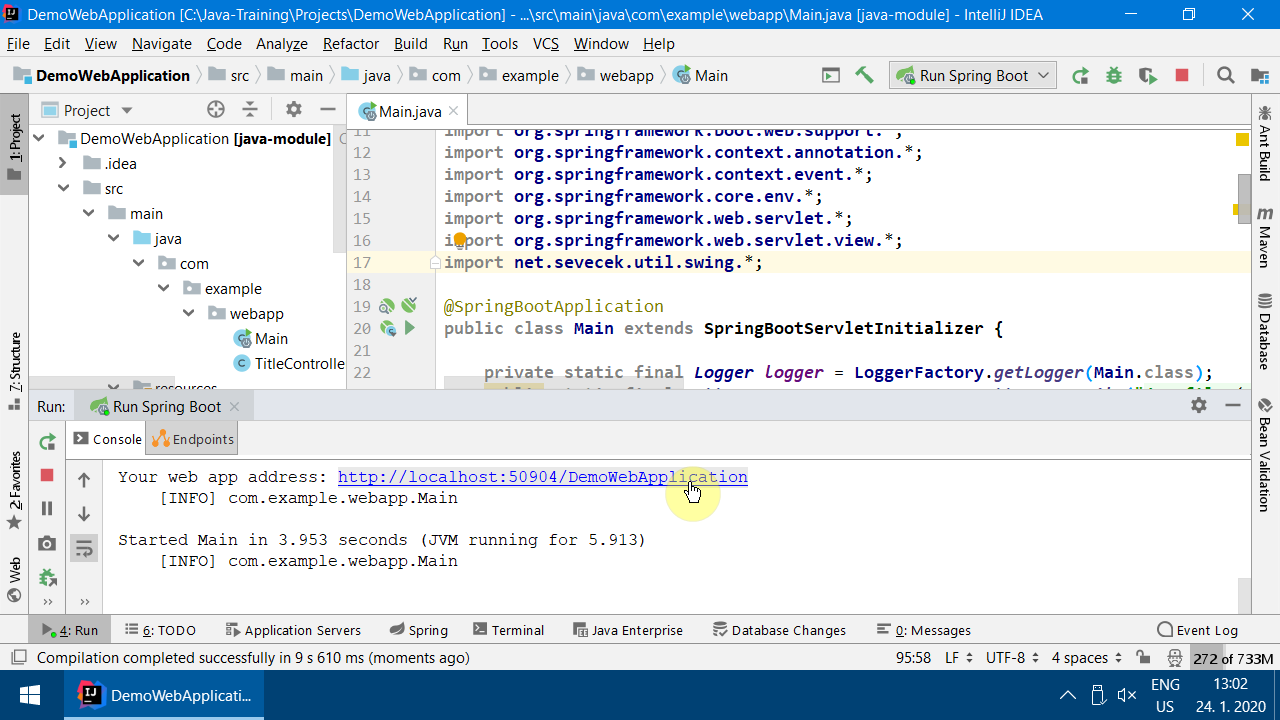
Run the application
-
Click on the generated link.
-
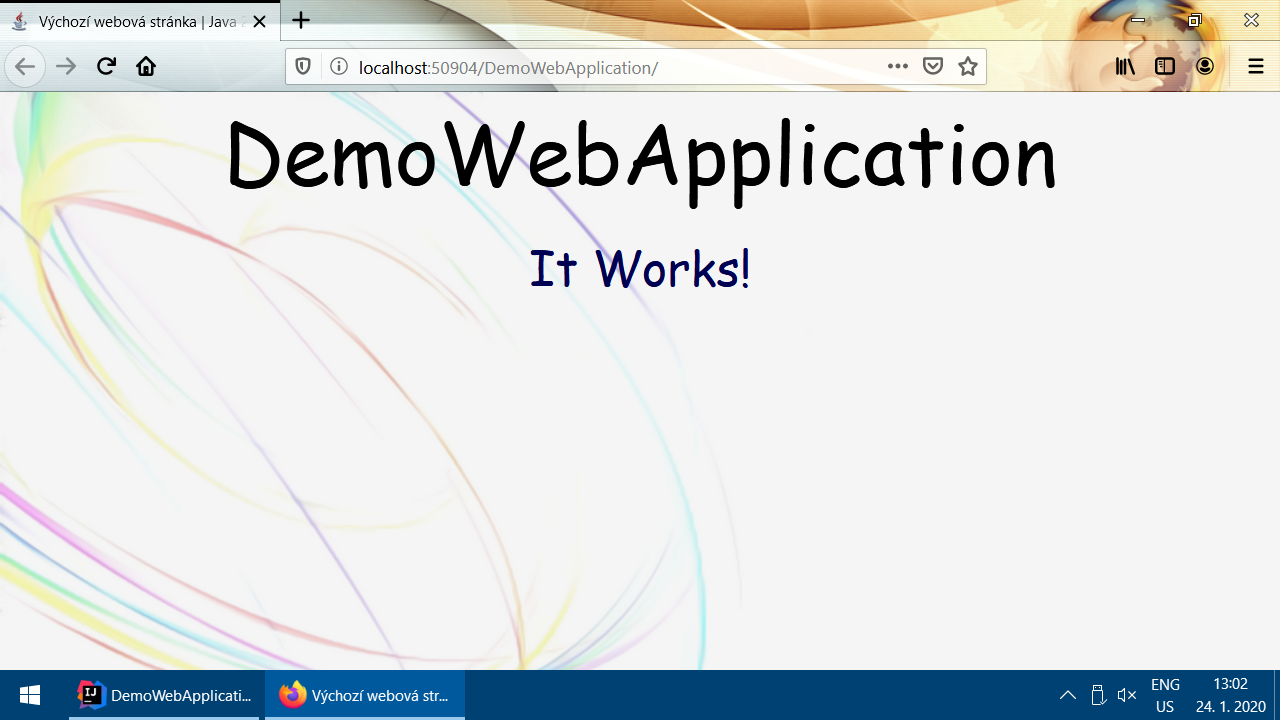
Everything should work now:
Temporary files clean up
You can erase files from Downloads (Java-Training.7z and 7-Zipu installer), to save some disk space.